How to Change the Language for WordPress
WordPress supports dozens of languages, making it easy to create websites for users around the world. Whether you want to manage your website in your native language or create a multilingual environment for administrators, WordPress allows you to change the site language directly from the dashboard.
In this guide, you will learn how to Change WordPress Language using the built-in settings available in WordPress.
Why Change the WordPress Language?
There are several reasons why website owners choose to change the language of their WordPress installation:
-
Manage the dashboard in a preferred language.
-
Improve usability for non-English administrators.
-
Support international website management.
-
Make WordPress easier for local teams to use.
-
Access translated WordPress menus and settings.
The Change WordPress Language feature is built into WordPress, so no additional plugins are required.
Prerequisites
Before you begin:
-
Ensure you have administrator access to WordPress.
-
Make sure your WordPress installation is up to date.
-
Create a backup of your website as a precaution.
Steps to Change the Language for WordPress
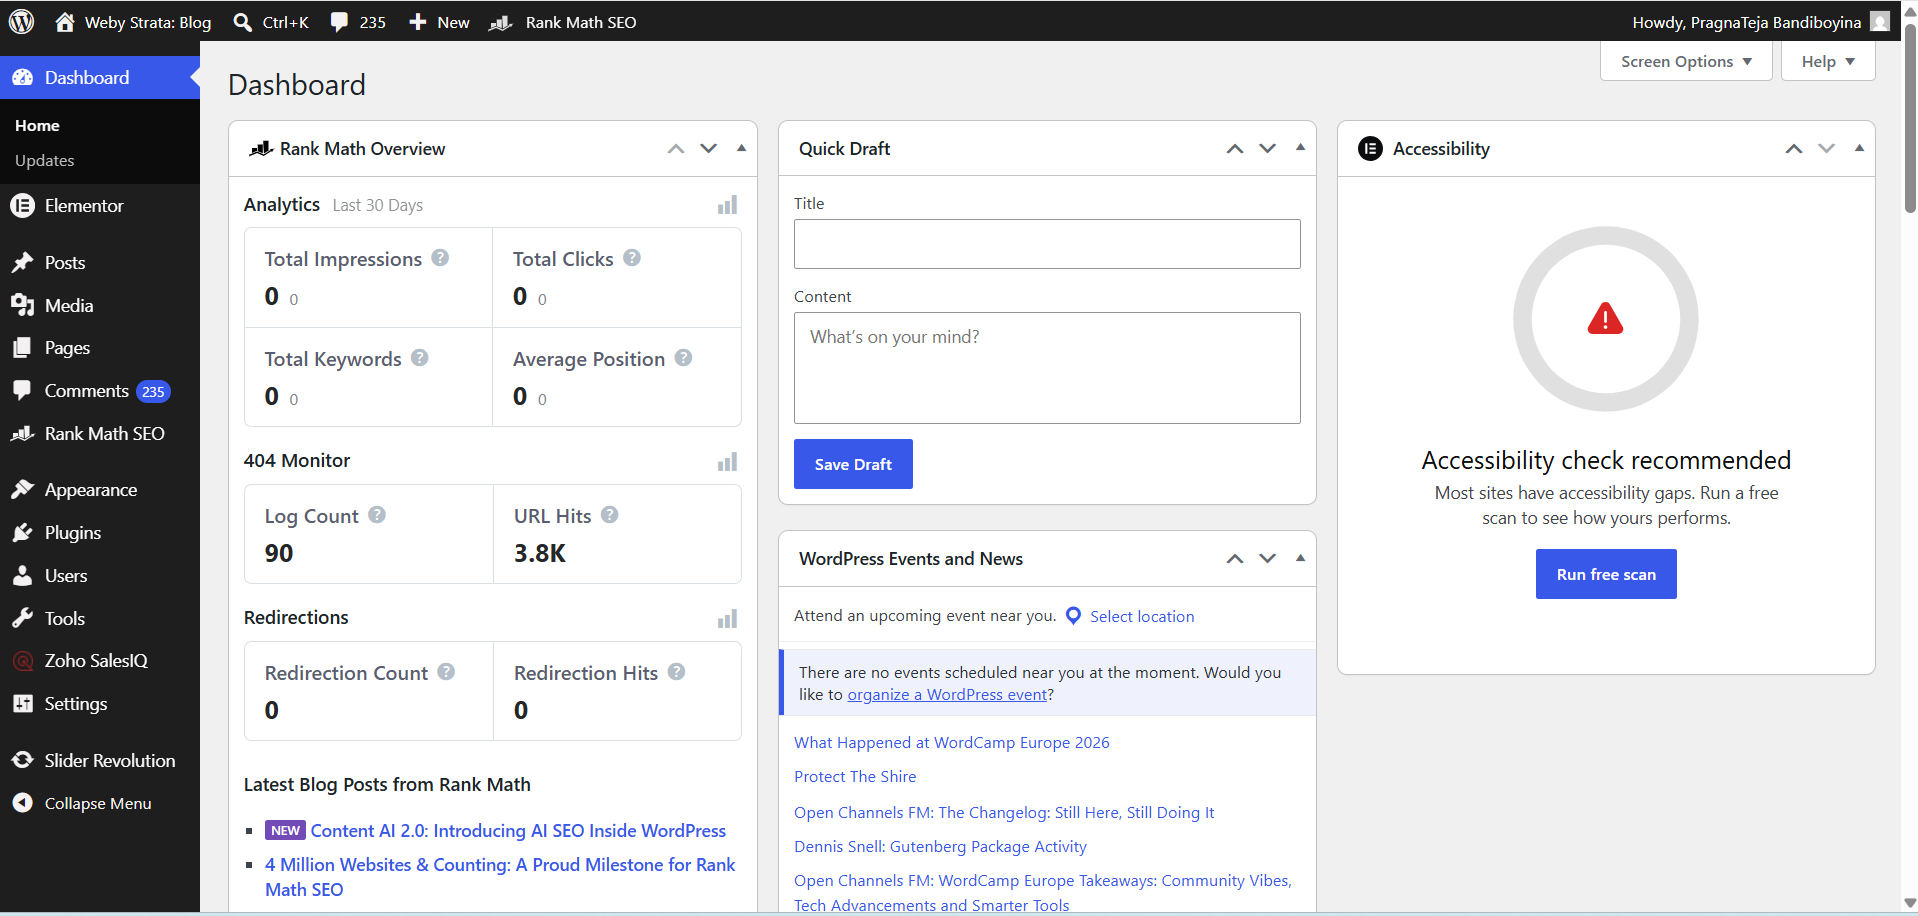
Step 1: Log in to Your WordPress Dashboard
Open your web browser and visit your WordPress admin area.
Example:
https://yourdomain.com/wp-admin
Enter your username and password, then click Log In.
Step 2: Navigate to General Settings
After logging in:
-
Go to Settings from the left-hand menu.
-
Click General.
The General Settings page contains basic website configuration options, including language settings.

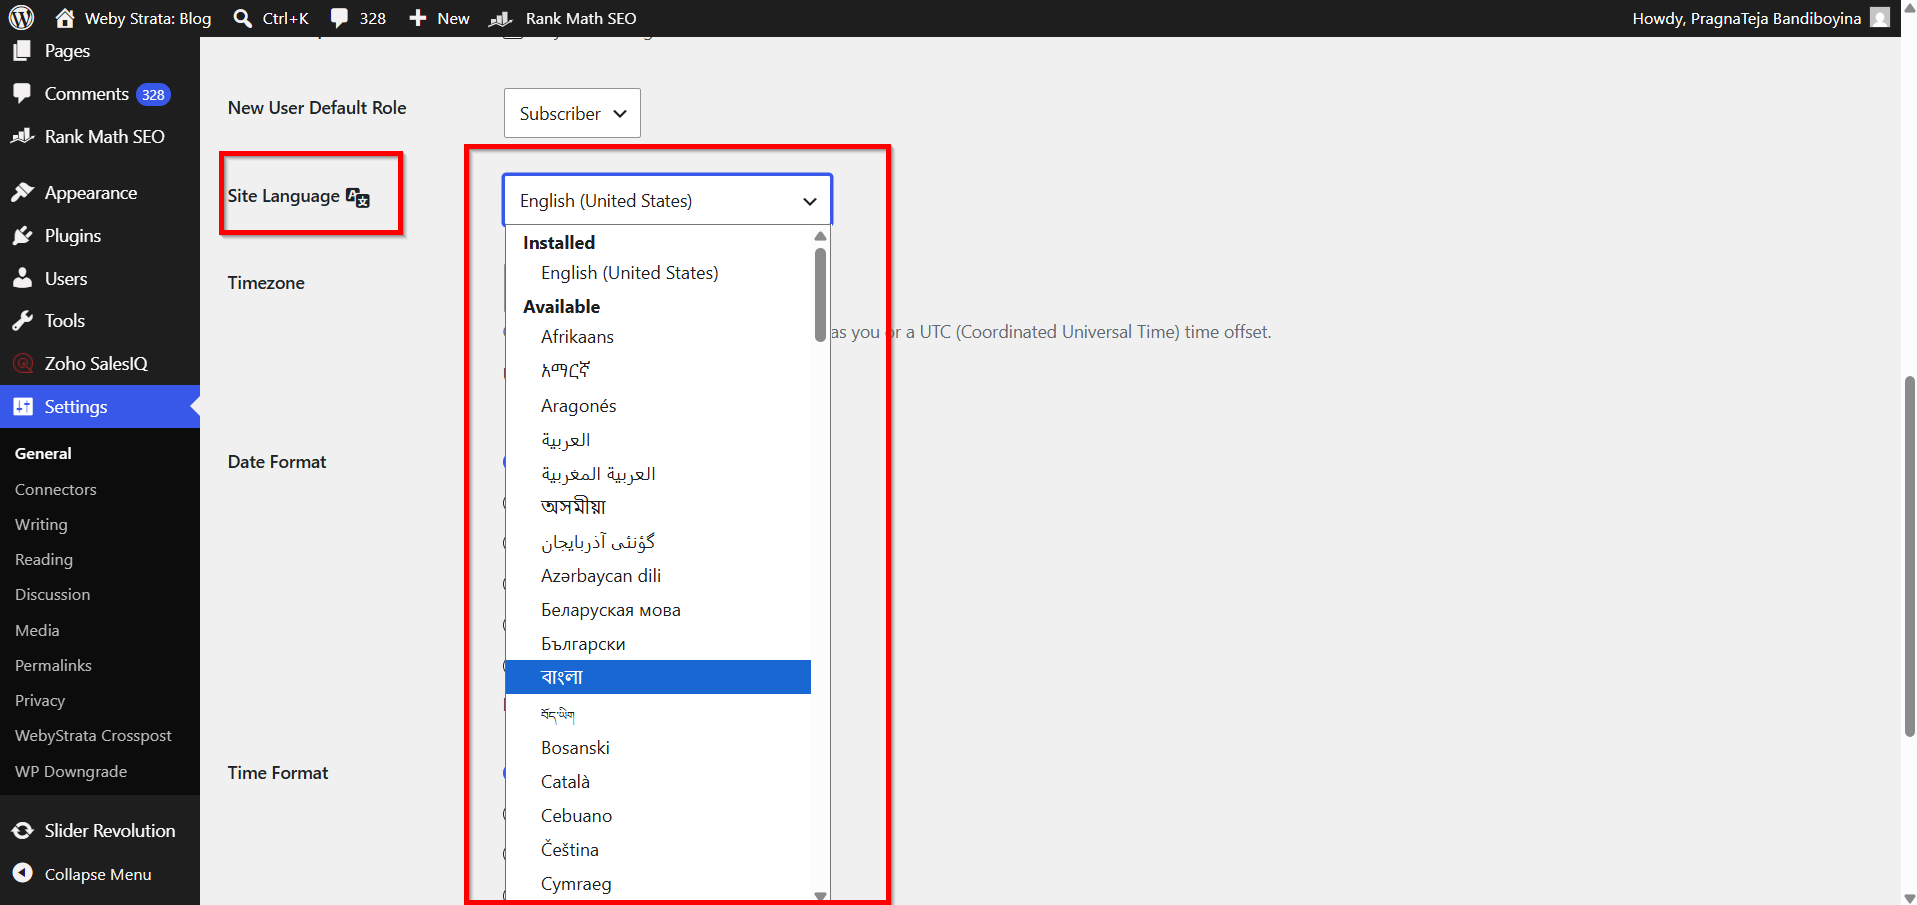
Step 3: Locate the Site Language Option
Scroll down until you find the Site Language dropdown menu.
This setting controls the language used throughout the WordPress dashboard and default system messages.

Step 4: Select Your Preferred Language
Click the Site Language dropdown menu.
You will see a list of available languages such as:
-
English (United States)
-
English (United Kingdom)
-
Spanish
-
French
-
German
-
Italian
-
Portuguese
-
Japanese
-
Chinese
-
Hindi
-
Telugu
-
And many more
Choose the language you want to use.
This step allows you to Change WordPress Language without modifying any core files.
Step 5: Save Changes
After selecting your preferred language:
-
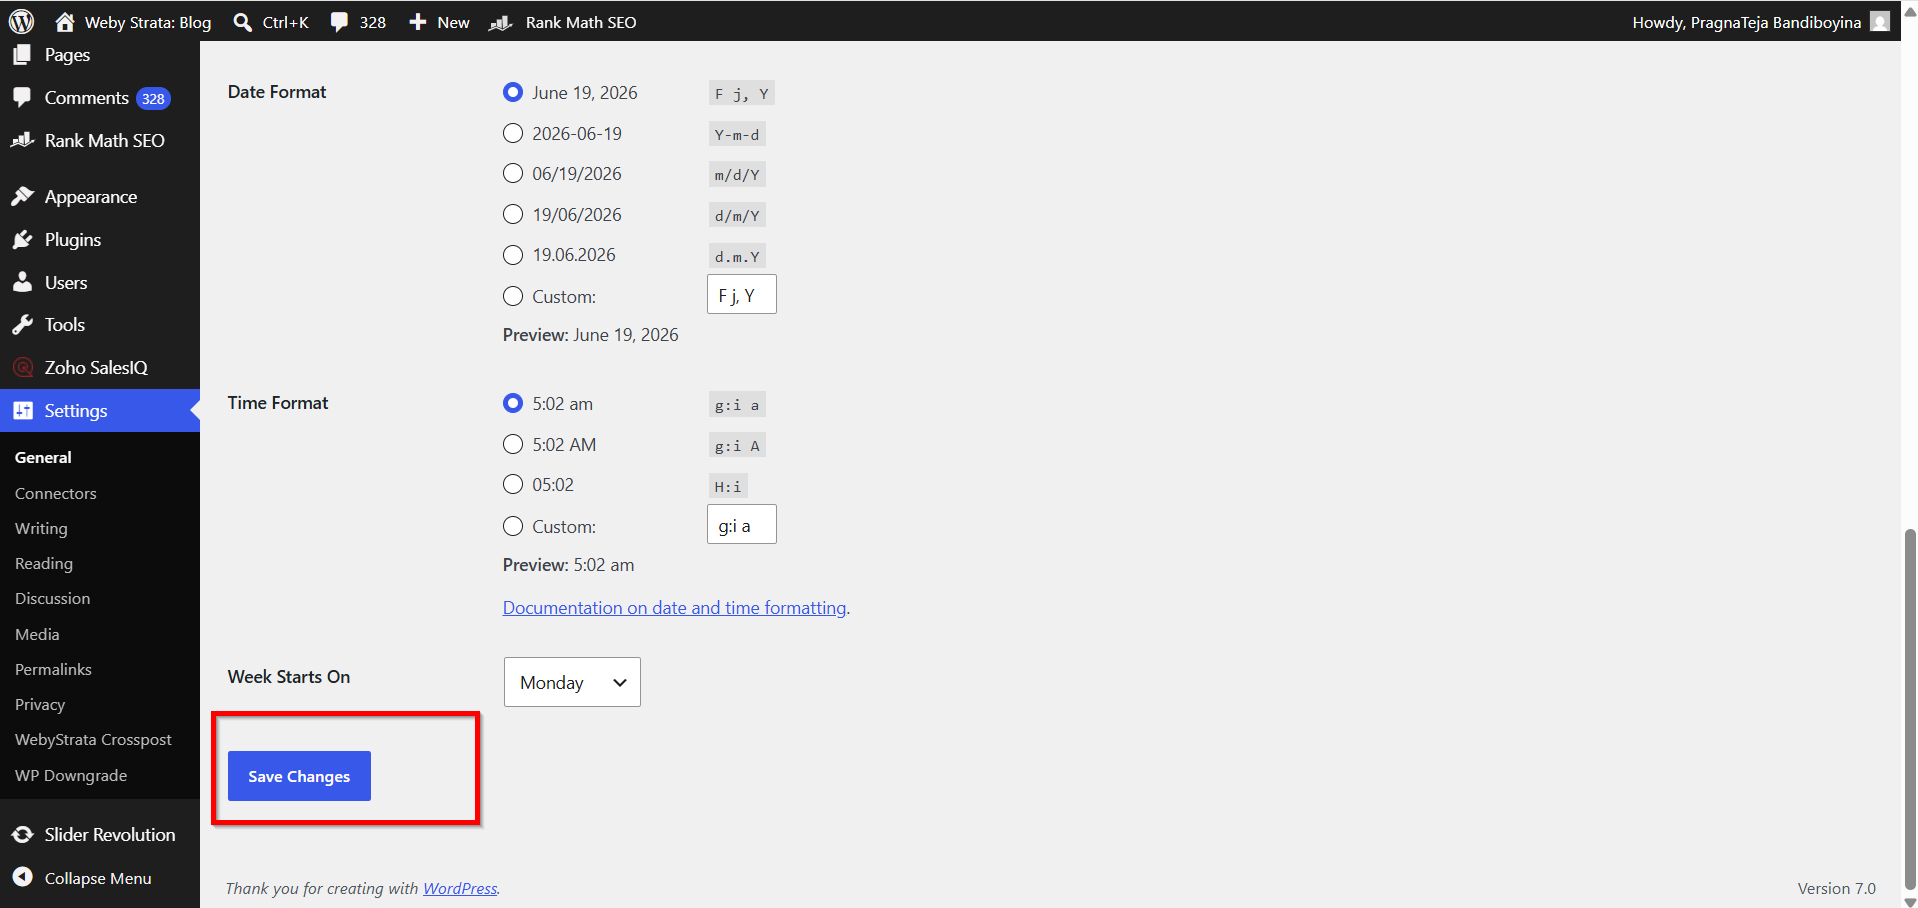
Scroll to the bottom of the page.
-
Click Save Changes.
WordPress will automatically download and install the necessary language files if they are not already present.
Step 6: Verify the Language Change
Once the settings are saved:
-
Refresh the dashboard.
-
Check the admin menu.
-
Verify that system messages and settings pages appear in the selected language.
You have successfully completed the Change WordPress Language process.
How to Change Language for a Specific User
WordPress also allows individual users to select their preferred dashboard language.
Step 1: Open Your Profile
-
Navigate to Users.
-
Click Profile.

Step 2: Find Language Settings
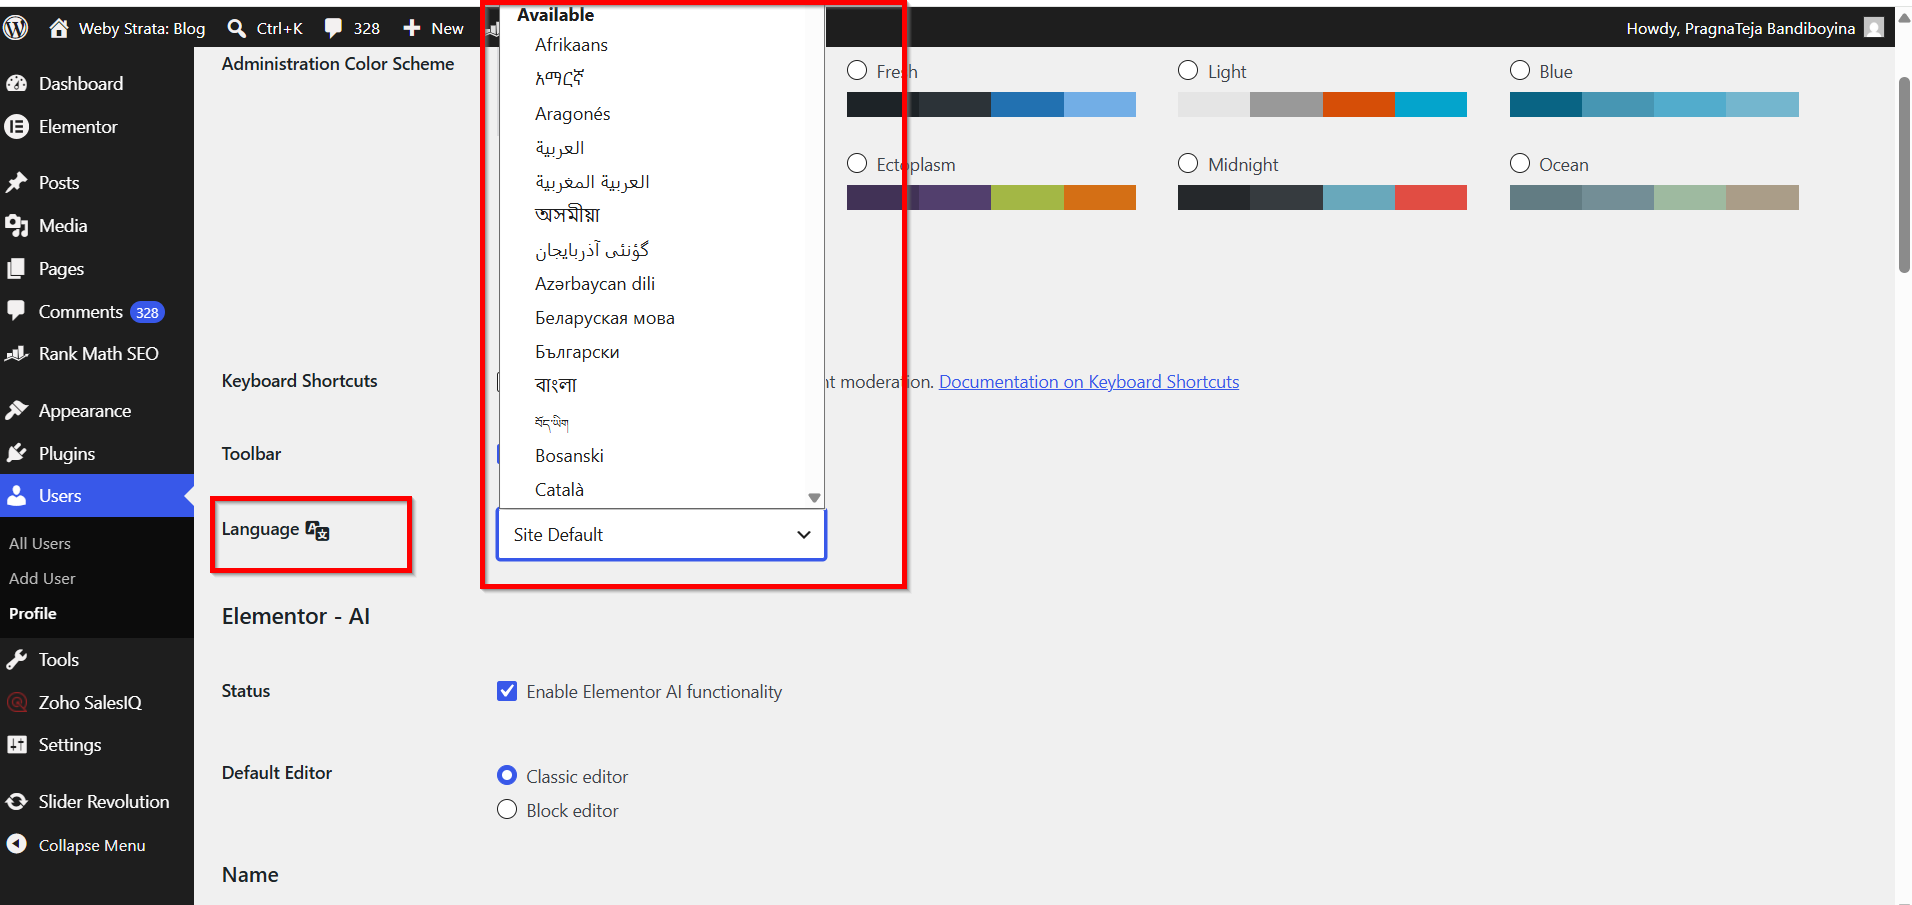
Locate the Language option in your profile settings.

Step 3: Select a Language
Choose your preferred language from the dropdown list.
Step 4: Update Profile
Click Update Profile to save your changes.
This method is useful when multiple administrators want to use different languages while managing the same website.

Benefits of Changing the WordPress Language
1. Improved User Experience
2. Easier Website Management
3. Better Team Collaboration
4. No Plugin Required
5. Supports Global User
Conclusion
The ability to Change WordPress Language makes WordPress accessible to users worldwide. With just a few clicks in the General Settings page, you can switch the dashboard to your preferred language and improve your website management experience. Whether you're running a personal blog, business website, or multilingual project, changing the WordPress language is a quick and effective customization option.