How to Clear Elementor Cache in WordPress
Elementor is one of the most popular WordPress page builders, allowing users to create professional websites with a simple drag-and-drop interface. However, there are times when changes made in Elementor do not appear on the live website immediately. You may notice outdated styles, missing design updates, or layout issues. In most cases, the problem is related to cached files.
Clearing Elementor cache is one of the simplest and most effective ways to resolve these issues. By refreshing Elementor's stored CSS and data files, you can ensure that visitors see the latest version of your website.
In this guide, we'll explain what Elementor cache is, why it matters, and how to clear Elementor cache step by step.
What is Elementor Cache?
Elementor cache is a temporary storage system that saves website data such as CSS files, page layouts, and other resources. Instead of generating these files every time a visitor loads a page, Elementor stores them for quicker access.
This caching mechanism improves website speed and reduces server load. However, when you make changes to your website, the cached version may continue to display old content until the cache is refreshed.
As a result, you might experience:
-
Design changes not appearing on the live site
-
Outdated fonts or colors
-
Broken layouts after updates
-
Slow loading of newly modified pages
-
Inconsistent display across devices
Clearing Elementor cache helps regenerate the latest files and ensures that all recent changes are visible.
How to Clear Elementor Cache
Follow these simple steps to clear Elementor cache in WordPress.
Step 1: Log in to Your WordPress Dashboard
Start by logging in to your WordPress admin area using your administrator credentials.
Once logged in, you will see the WordPress dashboard menu on the left-hand side.
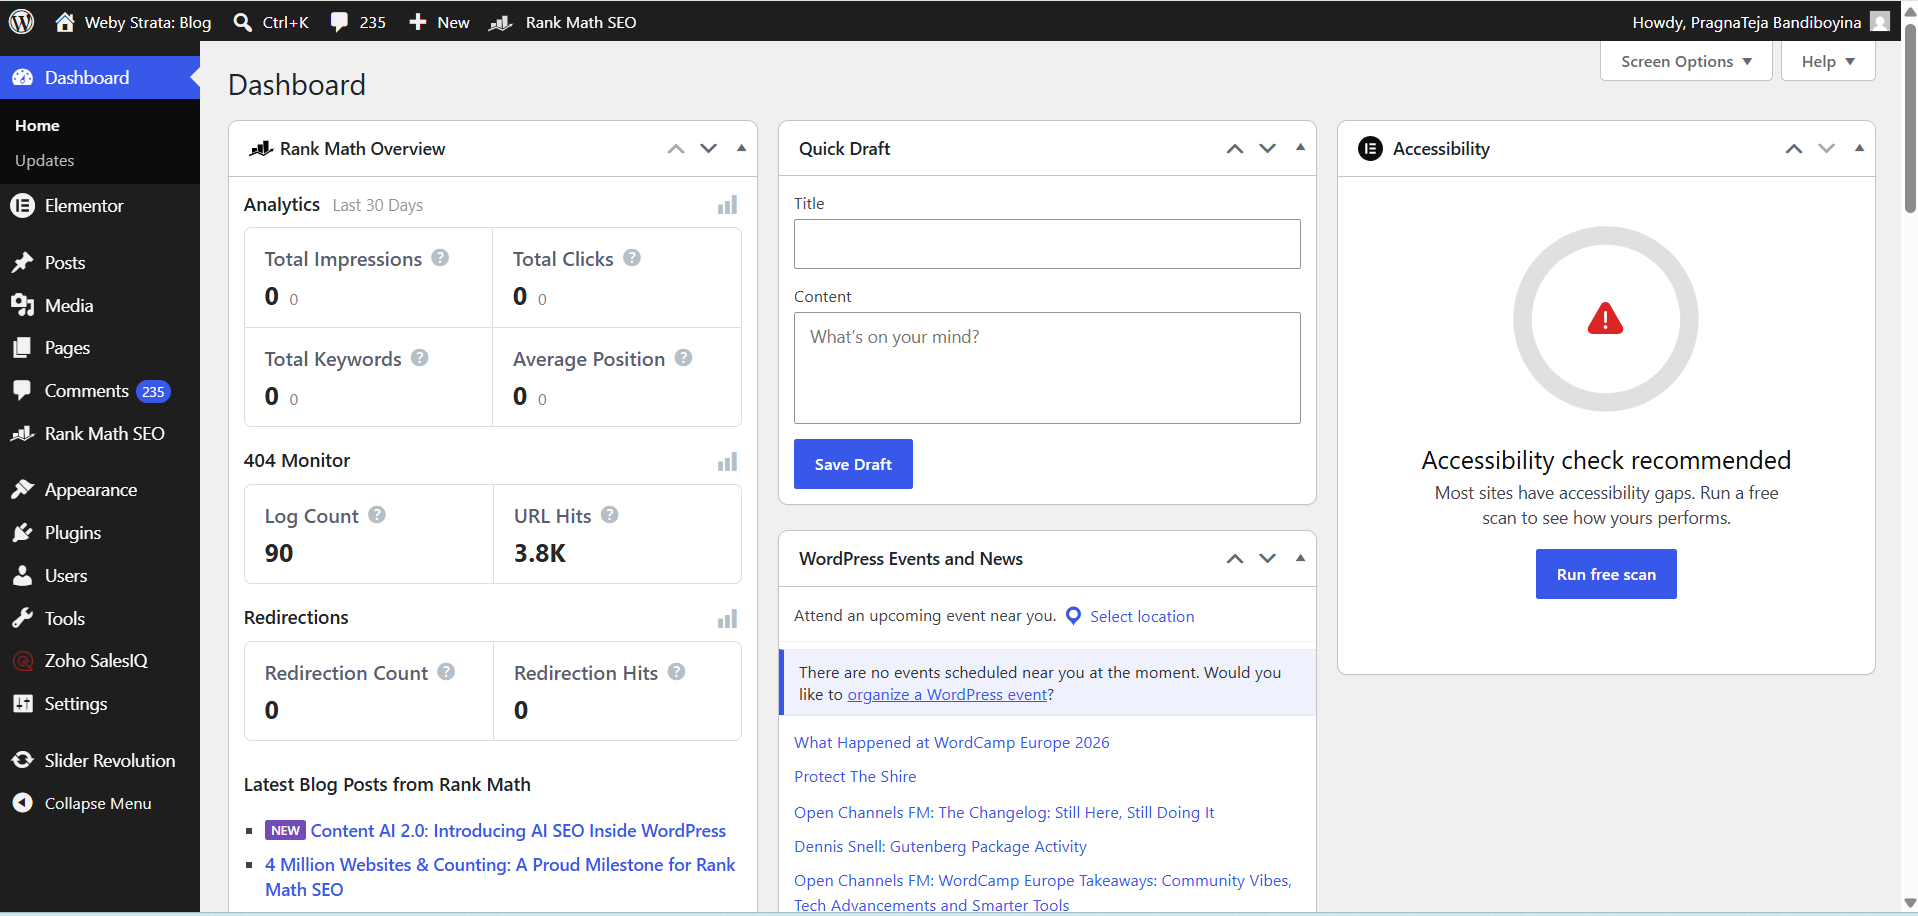
Step 2: Navigate to Elementor Tools
From the dashboard menu:
Elementor → Editor → Tools
The Elementor Tools page contains several maintenance and troubleshooting options.

Step 3: Clear Files & Data
Under the General tab, locate the section labeled:
Clear Files & Data.
Click the button:
Clear Files & Data.
Elementor will now remove old cached CSS files and generate fresh versions based on your current website design.
Wait a few moments until the process completes successfully.

Step 4: Save Changes
After regeneration finishes, click:
Save Changes
You should see a confirmation message indicating that the process completed successfully.

Step 5: Refresh Your Website
Open your website in a new browser tab and refresh the page.
In most cases, your latest Elementor changes will now appear correctly.
Best Practices for Elementor Cache Management
To maintain a healthy Elementor website:
-
Clear Elementor cache after major design updates.
-
Purge cache after updating Elementor or WordPress.
-
Clear browser cache when testing changes.
-
Remove caching plugin cache regularly.
-
Purge CDN cache after significant website modifications.
-
Keep Elementor and WordPress updated.
-
Avoid using multiple caching plugins simultaneously.
Following these practices helps prevent display issues and ensures visitors always see the latest version of your website.
Conclusion
Elementor caching is an essential feature that improves website speed and performance. However, cached files can sometimes prevent recent updates from appearing on the live website.
Fortunately, clearing Elementor cache is a quick and simple process. By navigating to Elementor → Tools → Regenerate Files & Data, you can refresh cached resources and resolve many common display issues. For the best results, also clear your browser cache, WordPress caching plugin cache, and CDN cache if applicable.
Regular cache maintenance helps keep your WordPress website running smoothly, ensures design changes appear correctly, and provides visitors with the most up-to-date version of your site.