
How to Configure Settings in WordPress
WordPress provides a variety of settings that allow website owners to customize and manage their websites efficiently. Properly configuring these settings helps improve user experience, search engine optimization, content management, and overall website performance. Whether you are launching a new website or optimizing an existing one, understanding WordPress settings is essential.
In this guide, you will learn how to configure the major settings available in WordPress and understand their importance.
Step 1: Log in to Your WordPress Dashboard
Begin by logging into your WordPress admin area using your administrator credentials.
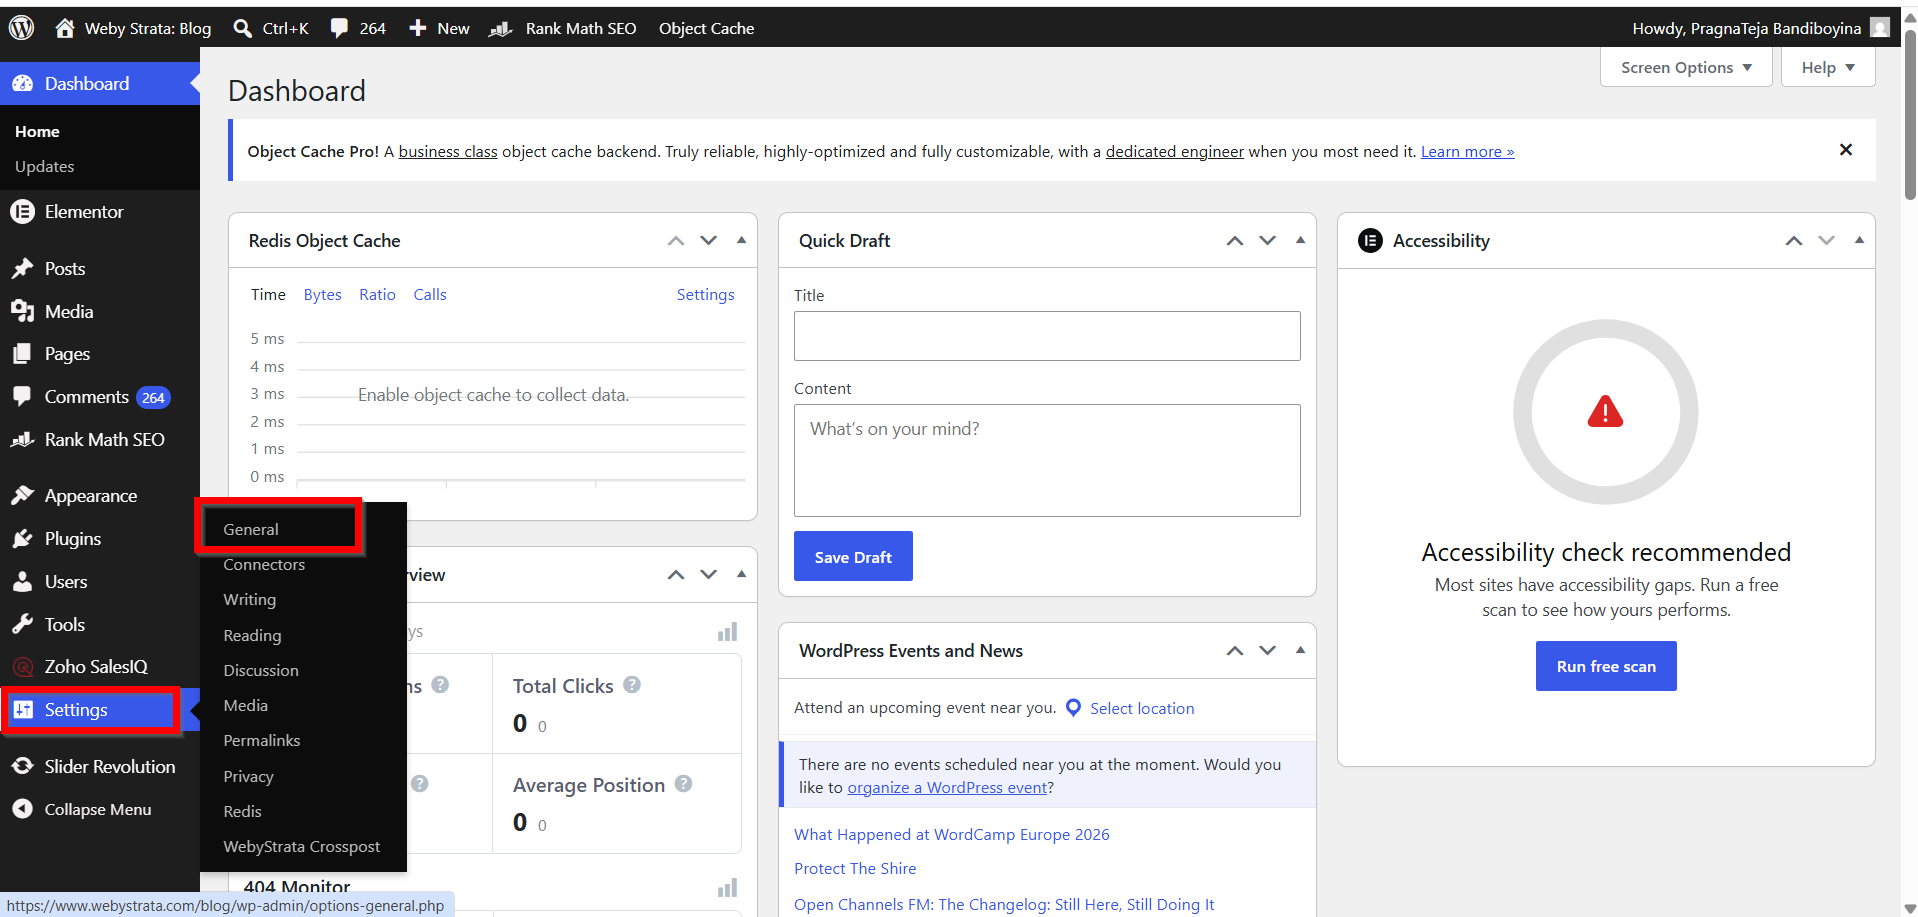
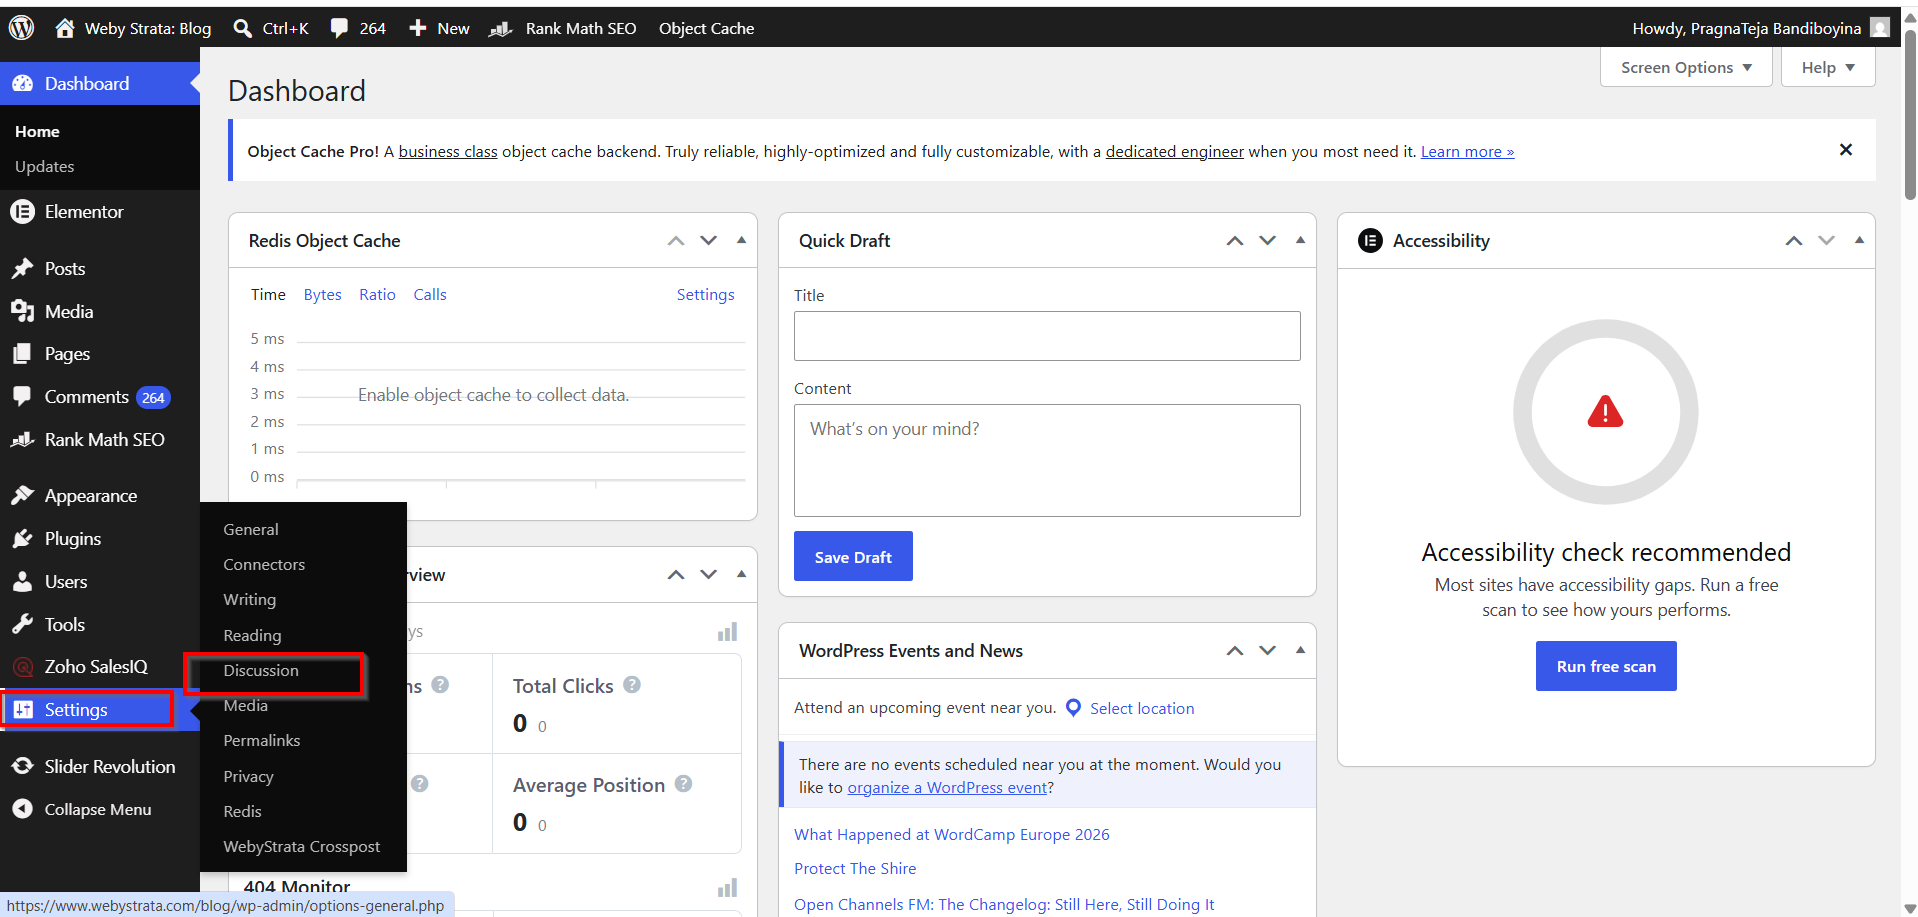
Once logged in, locate the Settings menu in the left-hand sidebar. This section contains all the primary configuration options for your website.

Step 2: Configure General Settings
Navigate to Settings → General.
The General Settings page contains the most important information about your website.
Website Title
The Site Title represents the name of your website and appears in browser tabs, search engine results, and various WordPress themes.
Tagline
A short description that explains the purpose of your website. For example, a web hosting company might use a tagline like "Reliable Hosting Solutions for Every Business."
WordPress Address (URL)
This is the address where your WordPress core files are installed.
Site Address (URL)
This is the public URL visitors use to access your website.
Administration Email Address
WordPress sends important notifications, updates, and password reset requests to this email address.

Timezone
Selecting the correct timezone ensures scheduled posts, backups, and plugin tasks run accurately.
Date and Time Formats
Customize how dates and times appear throughout your website.

- After making changes, click Save Changes.

Step 3: Configure Writing Settings
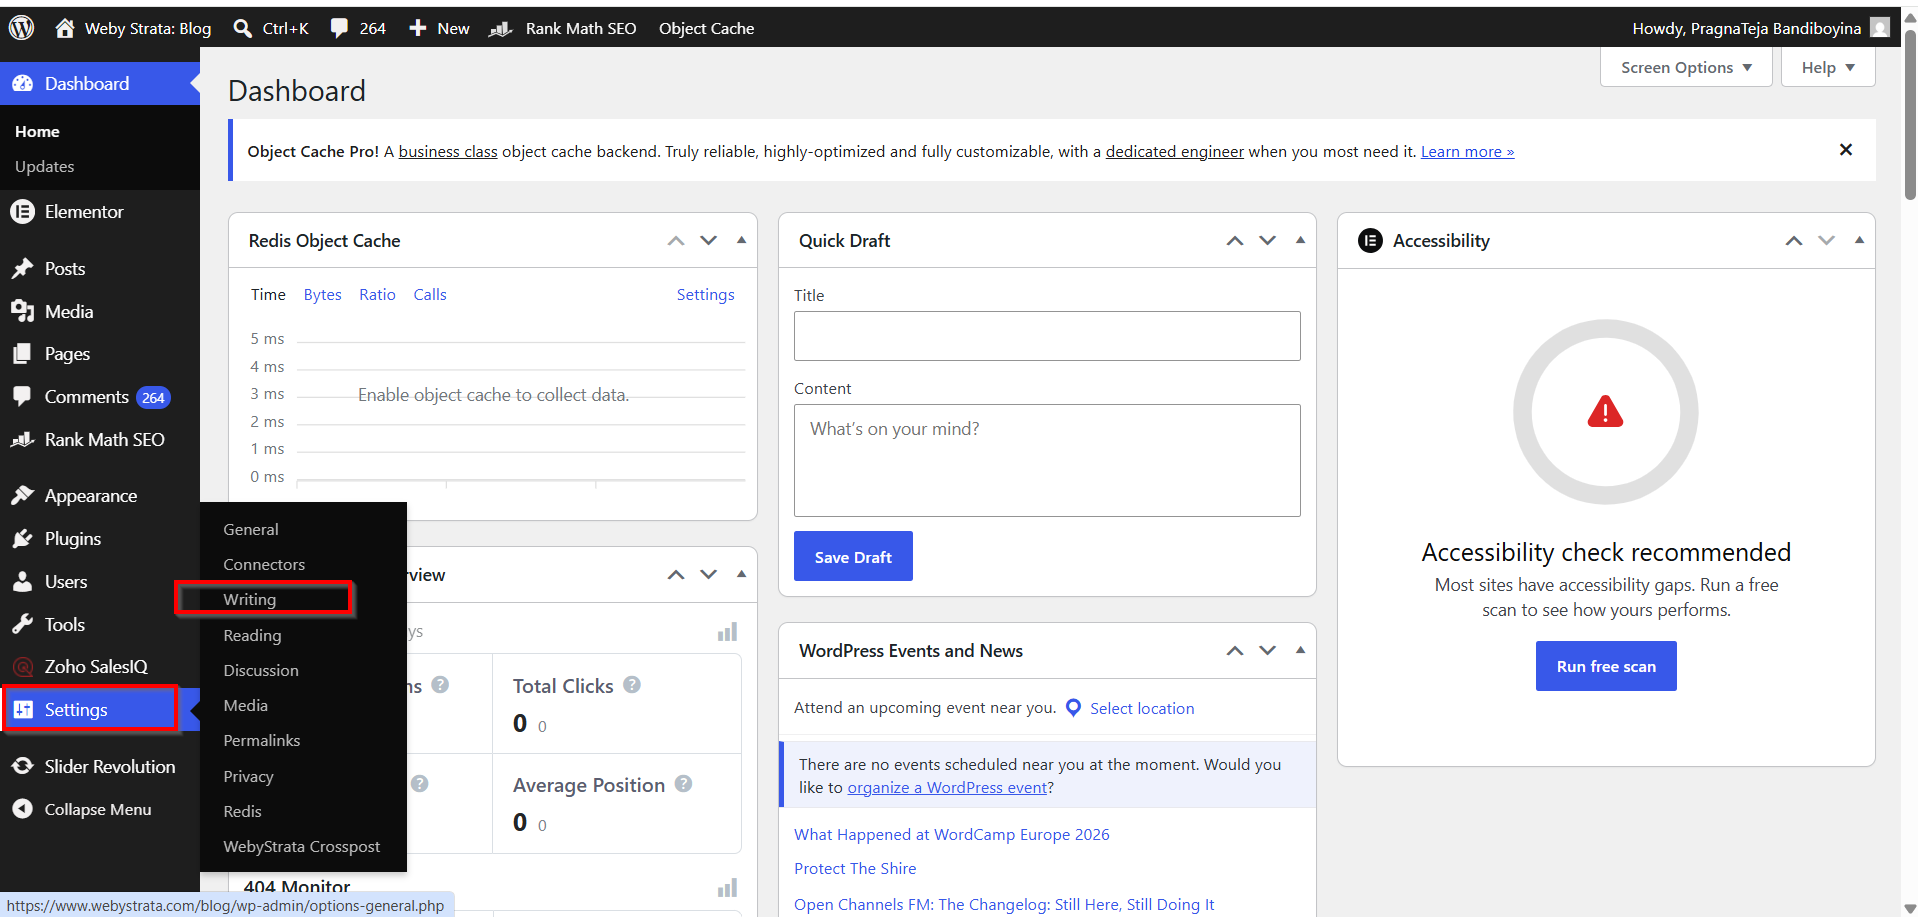
Go to Settings → Writing.
Writing Settings control how content is created and published.
Default Post Category
Select the category that will automatically be assigned to new posts if no category is chosen.
Default Post Format
Choose the default format for new blog posts depending on your theme's support.
Post via Email
Some WordPress installations allow content publishing through email. This feature can be configured here if needed.
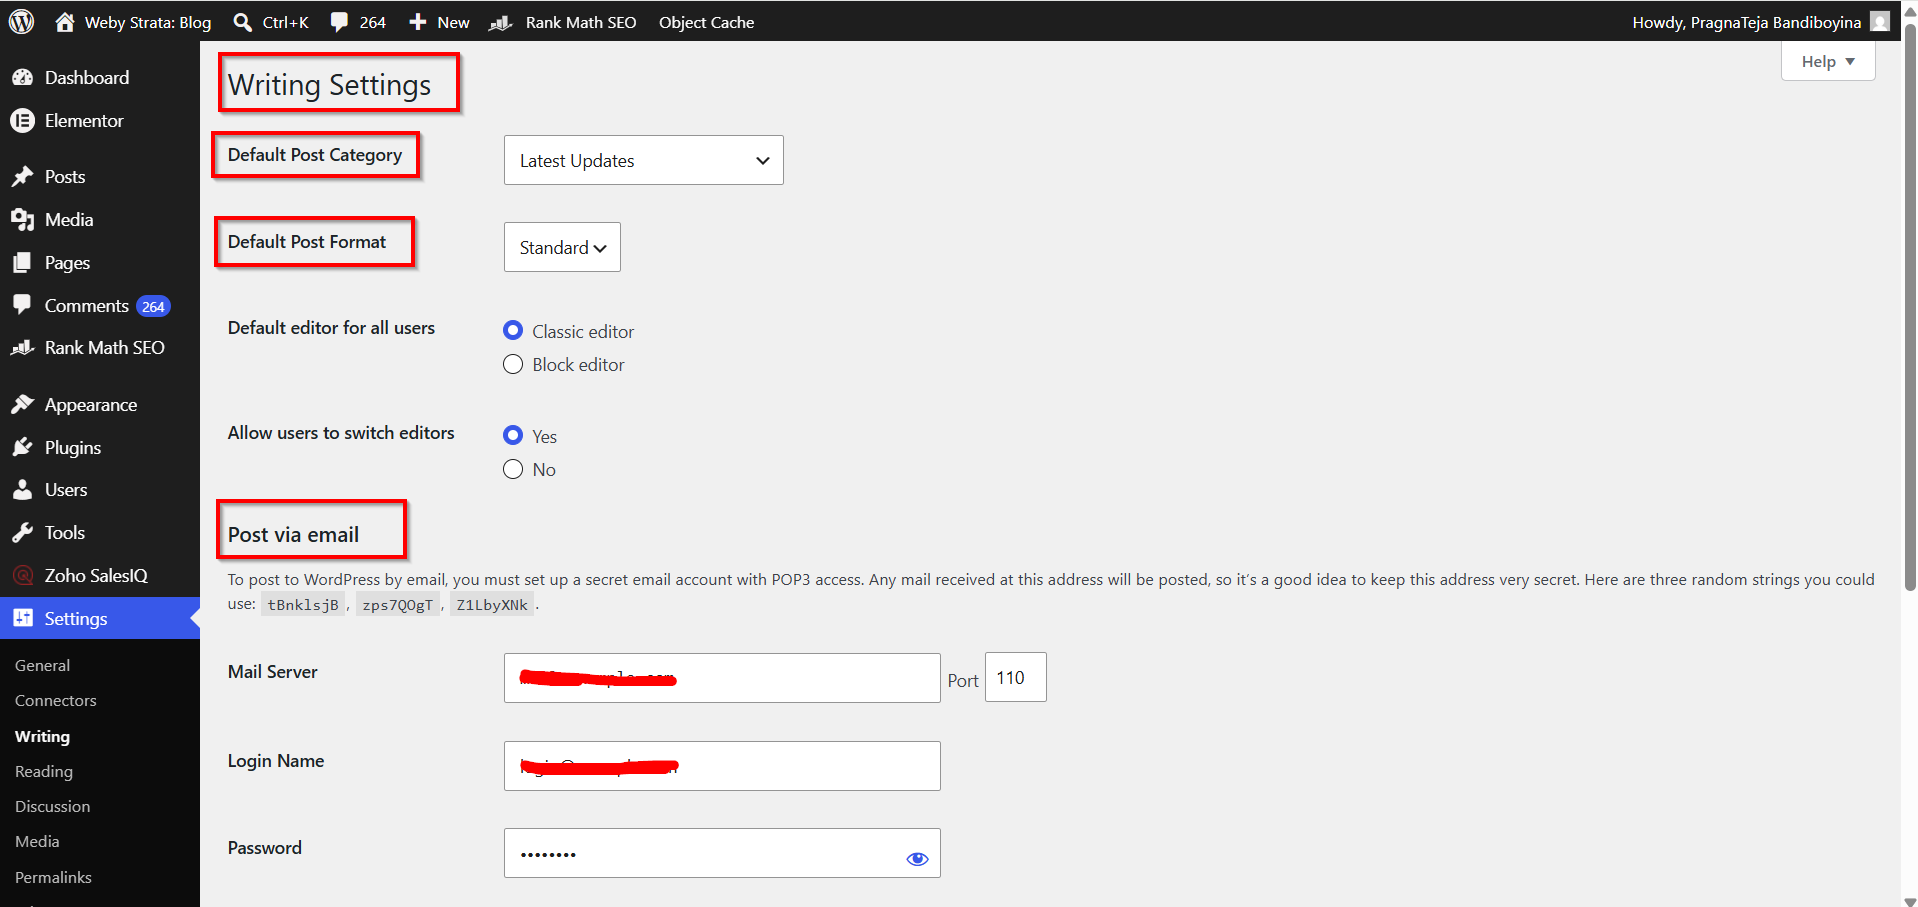
Update Services
WordPress can automatically notify update services whenever new content is published, helping search engines discover your content faster.
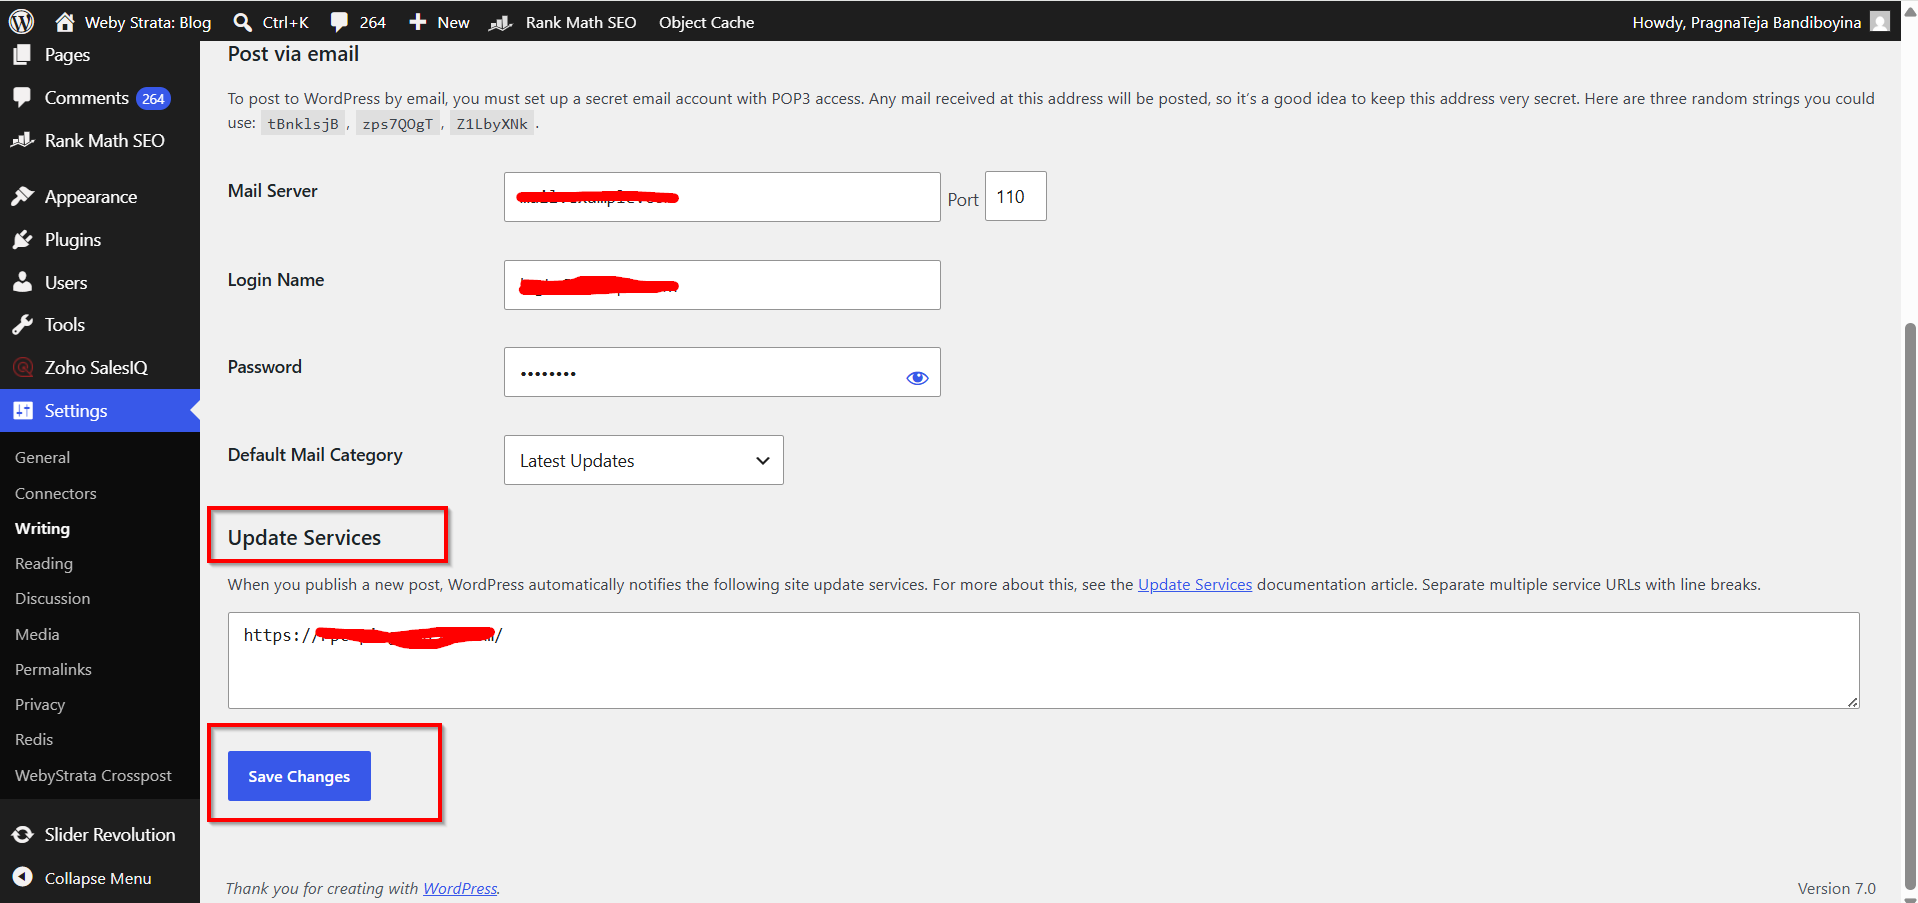
Click Save Changes after updating any settings.
Step 4: Configure Reading Settings
Navigate to Settings → Reading.
Reading Settings determine how visitors view your content.

Homepage Displays
You can choose:
-
Your latest posts
-
A static homepage
Most business websites prefer a static homepage, while blogs often display recent posts.
Blog Pages Show at Most
Control the number of blog posts displayed per page.
Syndication Feeds
Specify how many recent posts appear in RSS feeds.
Search Engine Visibility
You can discourage search engines from indexing your site during development. However, this option should be disabled when launching a live website.
Click Save Changes when finished.

Step 5: Configure Discussion Settings
Go to Settings → Discussion.
Discussion Settings manage comments and user interactions.
Default Post Settings
Control whether visitors can comment on new posts.

Comment Moderation
Require comments to be manually approved before appearing publicly.
Email Notifications
Receive alerts whenever new comments are submitted or require moderation.

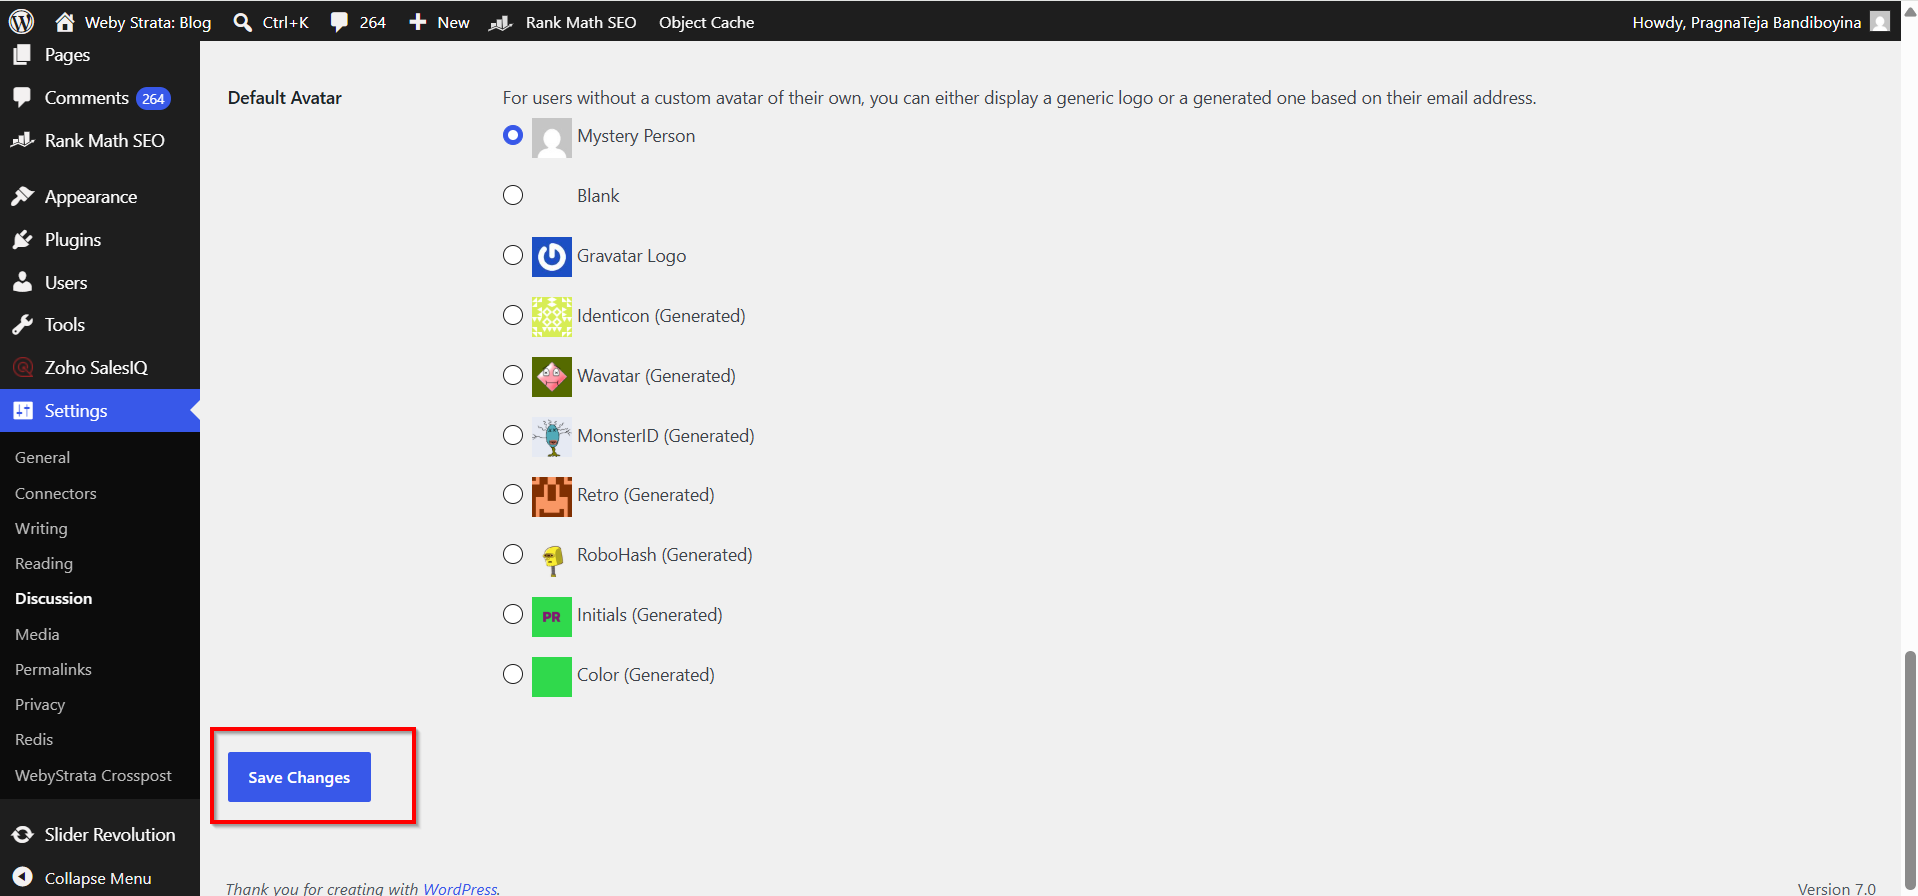
Avatar Settings
Customize how user profile images appear in comments.
Proper discussion settings help reduce spam and maintain a professional community environment.

- Remember to click Save Changes.
Step 6: Configure Media Settings
Navigate to Settings → Media.
Media Settings determine how uploaded images are handled.

Thumbnail Size
Defines the dimensions of small preview images.
Medium Size
Controls the dimensions of medium-sized images.
Large Size
Sets the maximum dimensions for large images.
Optimizing image sizes helps improve website loading speed while maintaining visual quality.

- After making changes, click Save Changes.

Step 7: Configure Permalink Settings
Go to Settings → Permalinks.
Permalinks define the structure of your website URLs.

Common Settings Options
WordPress offers several URL structures:
-
Plain
-
Day and Name
-
Month and Name
-
Numeric
-
Post Name
The Post Name structure is generally recommended because it creates clean, readable, and SEO-friendly URLs.
Example:
Instead of:
https://example.com/?p=123
Use:
https://example.com/how-to-configure-settings-in-wordpress
Search engines and visitors both prefer descriptive URLs.

- Click Save Changes to apply the new permalink structure.

Step 8: Configure Privacy Settings
Navigate to Settings → Privacy.
Privacy Settings help you comply with privacy regulations and inform visitors how their data is collected and used.

Select an Existing Privacy Policy Page
Choose a page that contains your privacy policy.
Create a New Privacy Policy Page
WordPress can automatically generate a privacy policy template that you can customize according to your website requirements.
A privacy policy is particularly important if your website collects:
-
Contact form submissions
-
Customer information
-
Newsletter subscriptions
-
Payment details
-
Analytics data
After selecting or creating a privacy policy page, save your changes.

Benefits of Properly Configuring WordPress Settings
1. Improved User Experience
2. Better Search Engine Optimization
3. Enhanced Website Security
4. Accurate Scheduling and Management
5. Faster Website Performance
6. Professional Appearance
7. Regulatory Compliance
Conclusion
Configuring WordPress settings is one of the first and most important tasks after installing WordPress. By properly setting up General, Writing, Reading, Discussion, Media, Permalink, and Privacy options, you create a strong foundation for your website's success. Taking a few minutes to review and optimize these settings can improve security, usability, SEO, and overall website performance.
