
Learn How to Regulate New User Registration in WordPress
WordPress allows you to control whether visitors can register for an account on your website and what permissions they receive after registration. Regulating user registration helps improve security and ensures that new users are assigned appropriate roles.
Steps to Regulate New User Registration in WordPress
Step 1: Log in to the WordPress Dashboard
Access your WordPress Admin area by visiting:
https://yourdomain.com/wp-admin
Enter your administrator credentials and click Log In.

Step 2: Open General Settings
From the left-hand navigation menu, click:
Settings → General
This page contains the basic configuration options for your WordPress website.

Step 3: Locate the Membership Settings
Scroll down until you find the Membership section.
You will see the option:
Anyone can register

Step 4: Enable or Disable User Registration
-
To allow visitors to create accounts, check the Anyone can register box.
-
To prevent new user registrations, leave the box unchecked.

Step 5: Choose the Default User Role
Under New User Default Role, select the role that newly registered users should receive.
Available roles typically include:
-
Subscriber
-
Contributor
-
Author
-
Editor
-
Administrator
Note: It is recommended to keep the default role set to Subscriber unless users require additional permissions.

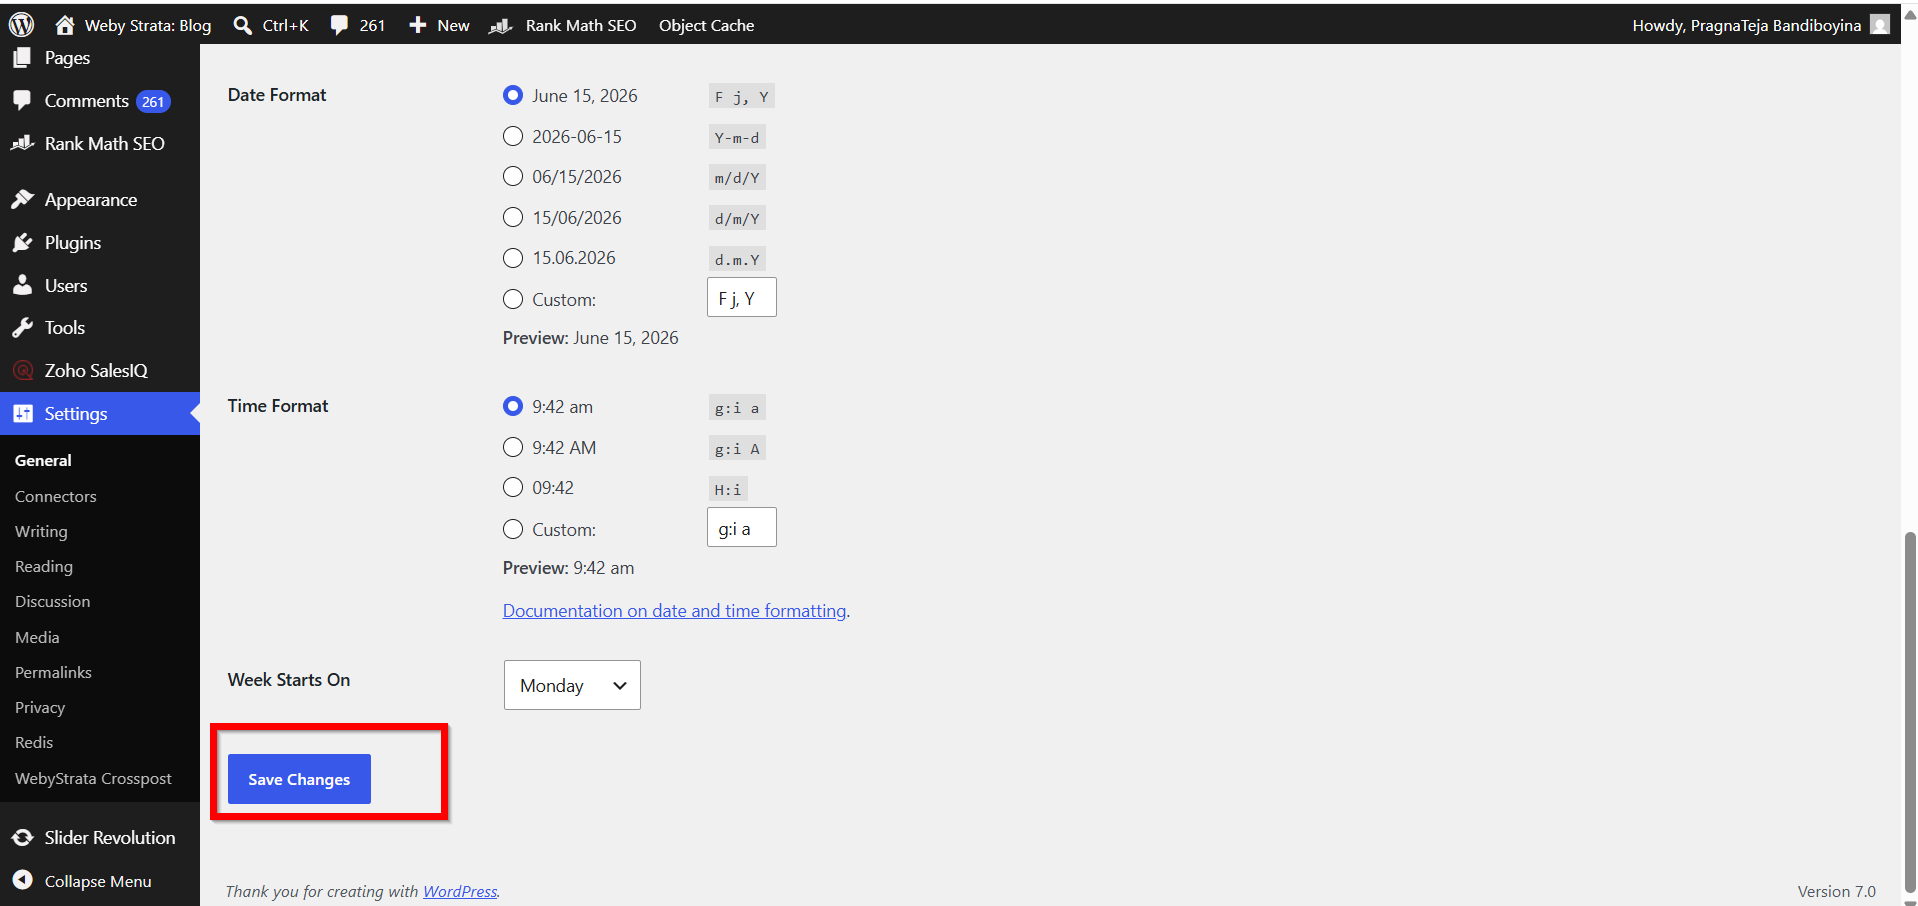
Step 6: Save the Changes
Click the Save Changes button at the bottom of the page to apply your settings.
Step 7: Verify the Registration Settings
If registration is enabled, visit the registration page:
https://yourdomain.com/wp-login.php?action=register
Confirm that the registration form is displayed correctly and that new users receive the selected default role.

Conclusion
By configuring the Membership settings in WordPress, you can easily control who can register on your website and determine the permissions assigned to new users. Properly managing user registration enhances website security and helps maintain control over user access.
