
Enable and Disable Pingbacks and Trackbacks in WordPress
WordPress includes several built-in features that help website owners communicate and interact with other websites. Two of these features are Pingbacks and Trackbacks. While they were once widely used to notify websites about incoming links, their popularity has declined over time due to the increase in spam and the rise of social media sharing.
Understanding how pingbacks and trackbacks work can help you decide whether to keep them enabled or disable them on your WordPress website. In this guide, we will explain what pingbacks and trackbacks are, their benefits and drawbacks, and how to enable or disable them in WordPress.
Pingbacks
A pingback is an automatic notification sent from one WordPress website to another when a link is created between them. If both websites support pingbacks, WordPress automatically sends a notification to the linked website.
For example:
-
Website A publishes an article and links to Website B.
-
WordPress automatically sends a pingback to Website B.
-
Website B receives the notification and can display it in the comments section if approved.
Pingbacks are handled automatically by WordPress software and do not require manual action from the user.
Trackbacks
Trackbacks work similarly but require manual submission.
For example:
-
Website A writes an article referencing Website B.
-
The author manually sends a trackback URL to Website B.
-
Website B receives the trackback notification and may display it as a comment.
Trackbacks were designed to allow bloggers to communicate and discuss topics across multiple websites.
How to Enable or Disable Pingbacks and Trackbacks in WordPress
Follow the steps below to manage these settings.
Step 1: Log in to WordPress
Sign in to your WordPress Admin Dashboard using an administrator account.
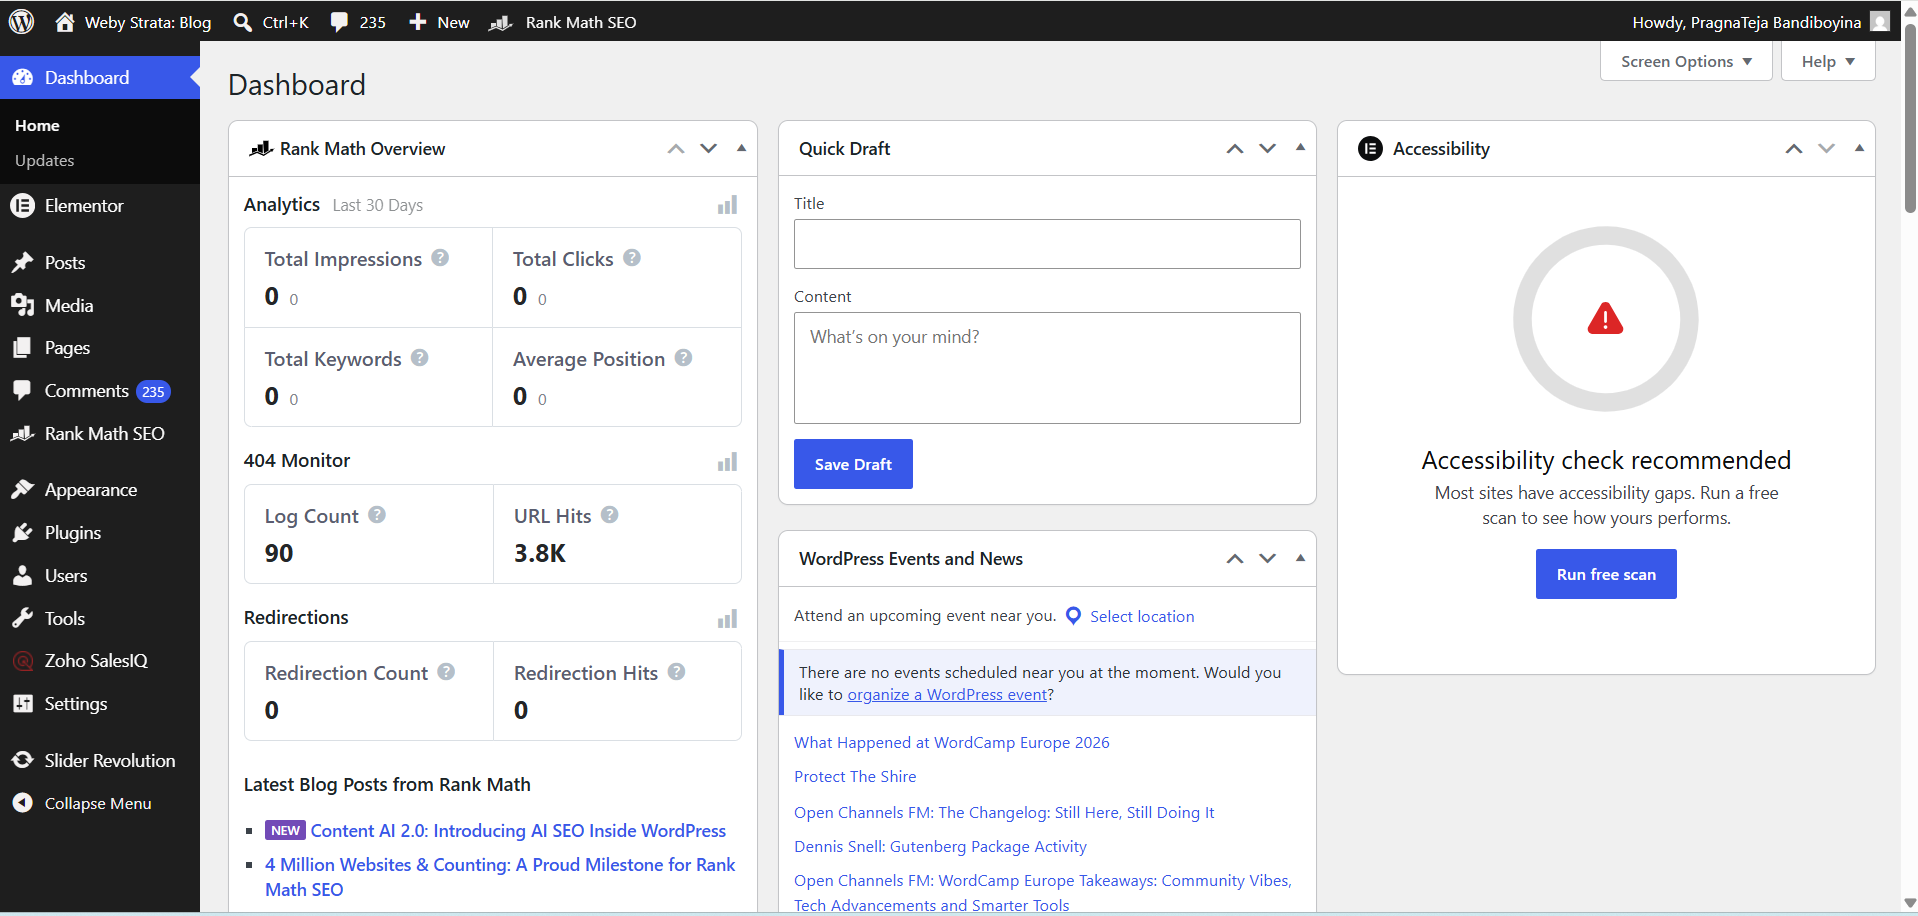
Step 2: Open Discussion Settings
From the left-hand navigation menu:
Settings → Discussion
This page contains all WordPress comment and discussion-related options.

Step 3: Locate Default Article Settings
Scroll to the Default article settings section.
You will see the following option:
Allow link notifications from other blogs (pingbacks and trackbacks) on new articles

Step 4: Enable Pingbacks and Trackbacks
To enable notifications:
-
Check the box labeled Allow link notifications from other blogs (pingbacks and trackbacks) on new articles.
-
Review your settings.

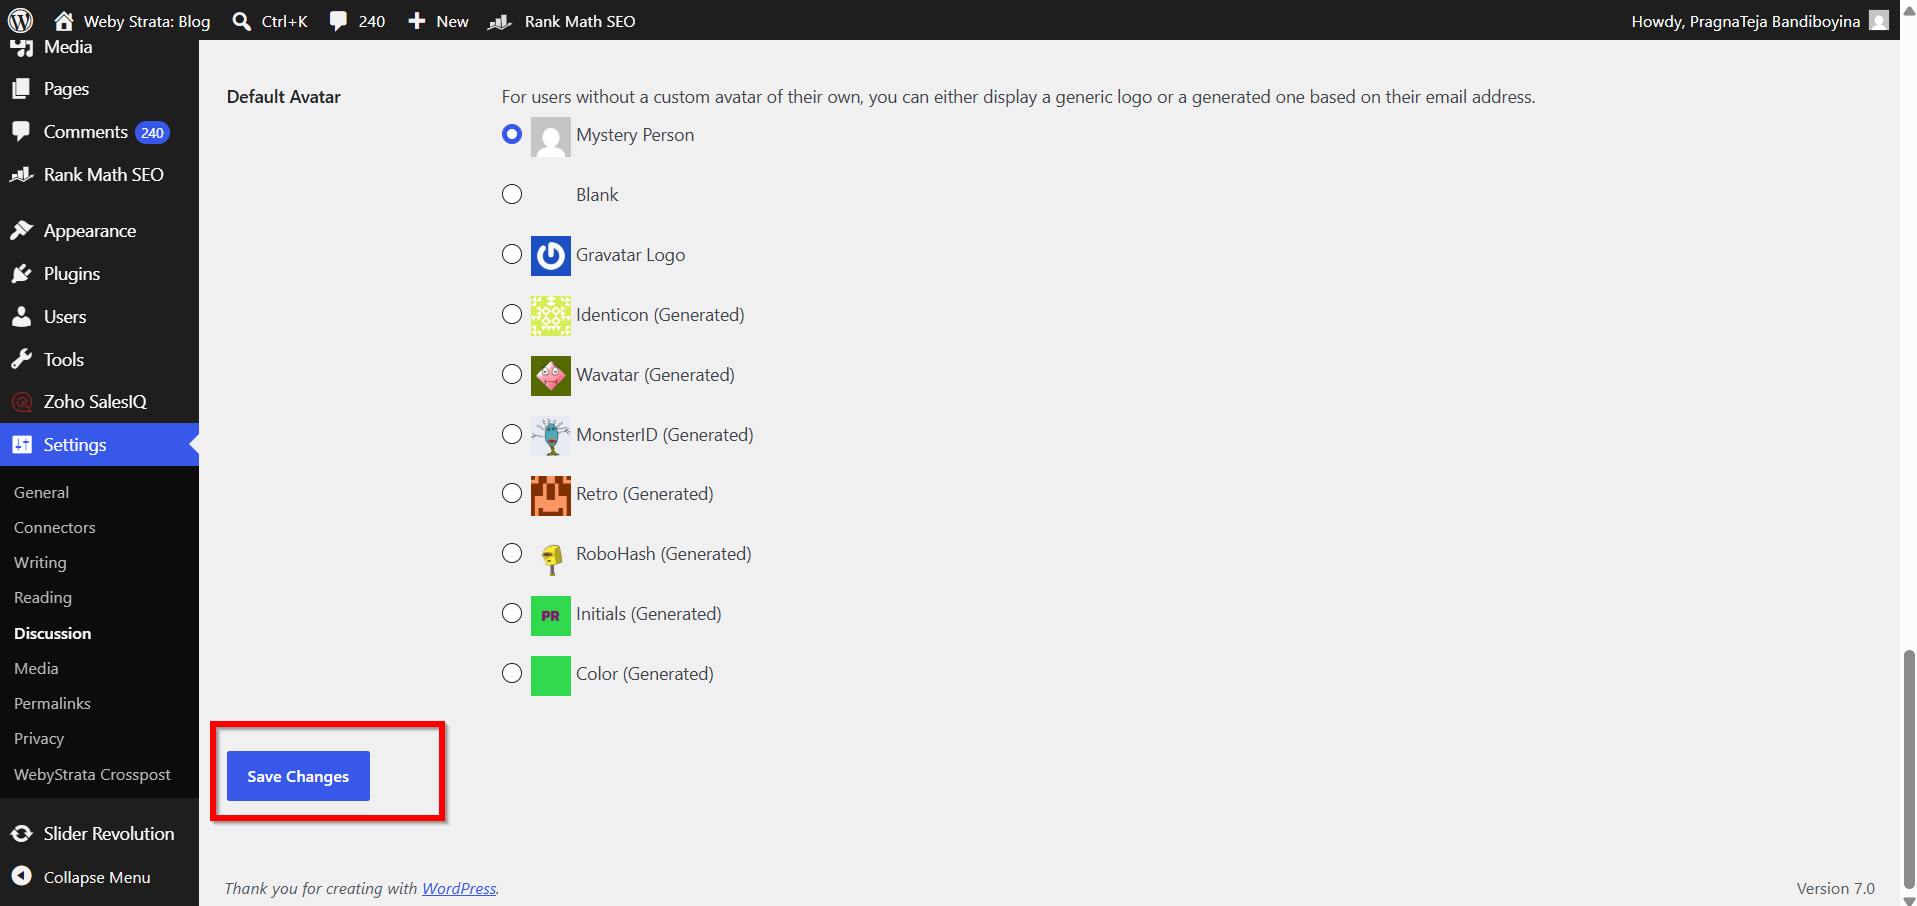
3. Click Save Changes.
WordPress will now accept pingbacks and trackbacks for newly published posts.
Step 5: Disable Pingbacks and Trackbacks
To disable notifications:
-
Uncheck the box labeled Allow link notifications from other blogs (pingbacks and trackbacks) on new articles.

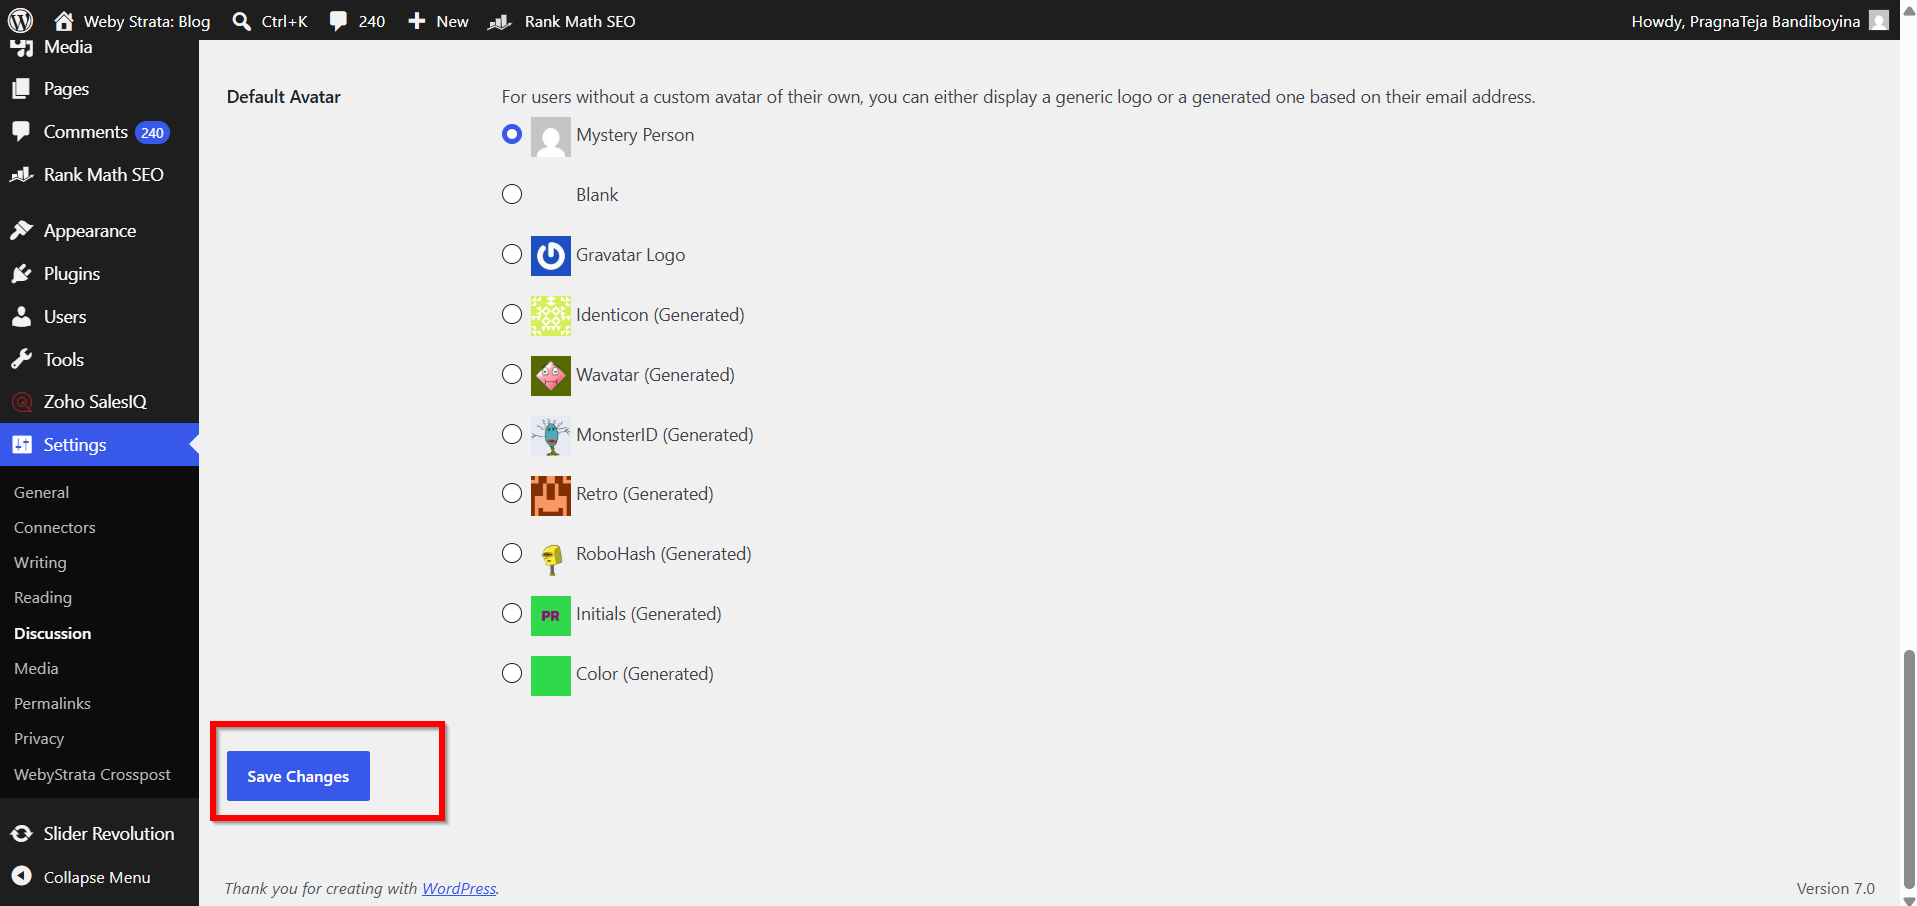
2. Click Save Changes.
WordPress will stop accepting pingbacks and trackbacks for future posts.
Best Practices
If you choose to use pingbacks and trackbacks, consider the following recommendations:
- Monitor Comments Regularly
- Use Anti-Spam Plugins
- Keep WordPress Updated
- Disable if Unused
Why Disable Pingbacks and Trackbacks?
Many modern WordPress websites choose to disable them.
Common Reasons
1. Reduce Spam
2. Improve Website Management
3. Cleaner Comment Sections
4. Better Performance
5. Enhanced Security
Benefits
1. Receive Link Notifications
You can easily identify websites that mention or link to your content.
2. Build Relationships
Bloggers can discover content creators discussing similar topics and establish connections.
3. Encourage Discussions
Pingbacks and trackbacks can create conversations across multiple blogs.
4. Increase Visibility
Visitors may discover related content through approved pingbacks displayed in the comment section.
Conclusion
Pingbacks and trackbacks were originally designed to create communication between websites and help bloggers discover content that references their work. While they can still be useful in certain situations, many WordPress website owners choose to disable them due to spam concerns, security considerations, and easier website management.
Fortunately, WordPress makes it simple to enable or disable pingbacks and trackbacks through the Discussion Settings page. By understanding how these features work and configuring them according to your needs, you can maintain a cleaner, safer, and more efficient WordPress website.
