
How to Import a MySQL Database in cPanel
Managing databases is a critical part of website administration. Whether you're migrating a website, restoring a backup, or deploying a new application, knowing how to import a MySQL database in cPanel is an essential skill.
cPanel provides a simple and user-friendly tool called phpMyAdmin that allows users to import SQL database files without needing command-line access. This guide explains the entire process of importing a MySQL database into your hosting account safely and efficiently.
What Is a MySQL Database Import?
A MySQL database import is the process of uploading an existing database backup file (usually in .sql, .zip, or .gz format) into a MySQL database hosted on your server.
Common reasons for importing a database include:
- Restoring a website backup
- Migrating a website to a new hosting account
- Installing a web application manually
- Recovering data after accidental deletion
- Moving a local development site to a live server
Prerequisites
Before importing a database, ensure you have the following:
- Access to your cPanel account
- A MySQL database already created in cPanel
- A database user assigned to the database with all privileges
- A valid database backup file (
.sql,.zip, or.gz) - Sufficient hosting resources for the import
Step 1: Login to cPanel from Client Area
First, login to your client area account.
After logging in:
- Go to Services
- Click on My Services
- Select your active hosting service
- Click on Login to cPanel

Step 2: Create a MySQL Database (If Needed)
If you have not already created a database:
-
Open MySQL Databases.
-
Enter a database name.
-
Click Create Database.
-
Note the full database name for future use.
If a database already exists, you can proceed to the next step.

Step 3: Create a Database User
To access and manage the database:
-
Scroll to the MySQL Users section.
-
Create a new database user.
-
Enter a secure password.
-
Click Create User.

Step 4: Assign the User to the Database
After creating the user:
-
Locate the Add User to Database section.
-
Select the database user.
-
Select the database.
-
Click Add.
-
Grant ALL PRIVILEGES.
-
Save the changes.
This ensures the database can be accessed properly by your application.

Step 5: Open phpMyAdmin
-
Return to the cPanel home page.
-
Click phpMyAdmin under the Databases section.
-
phpMyAdmin will open in a new interface.
phpMyAdmin is the primary tool used for importing and managing MySQL databases within cPanel.

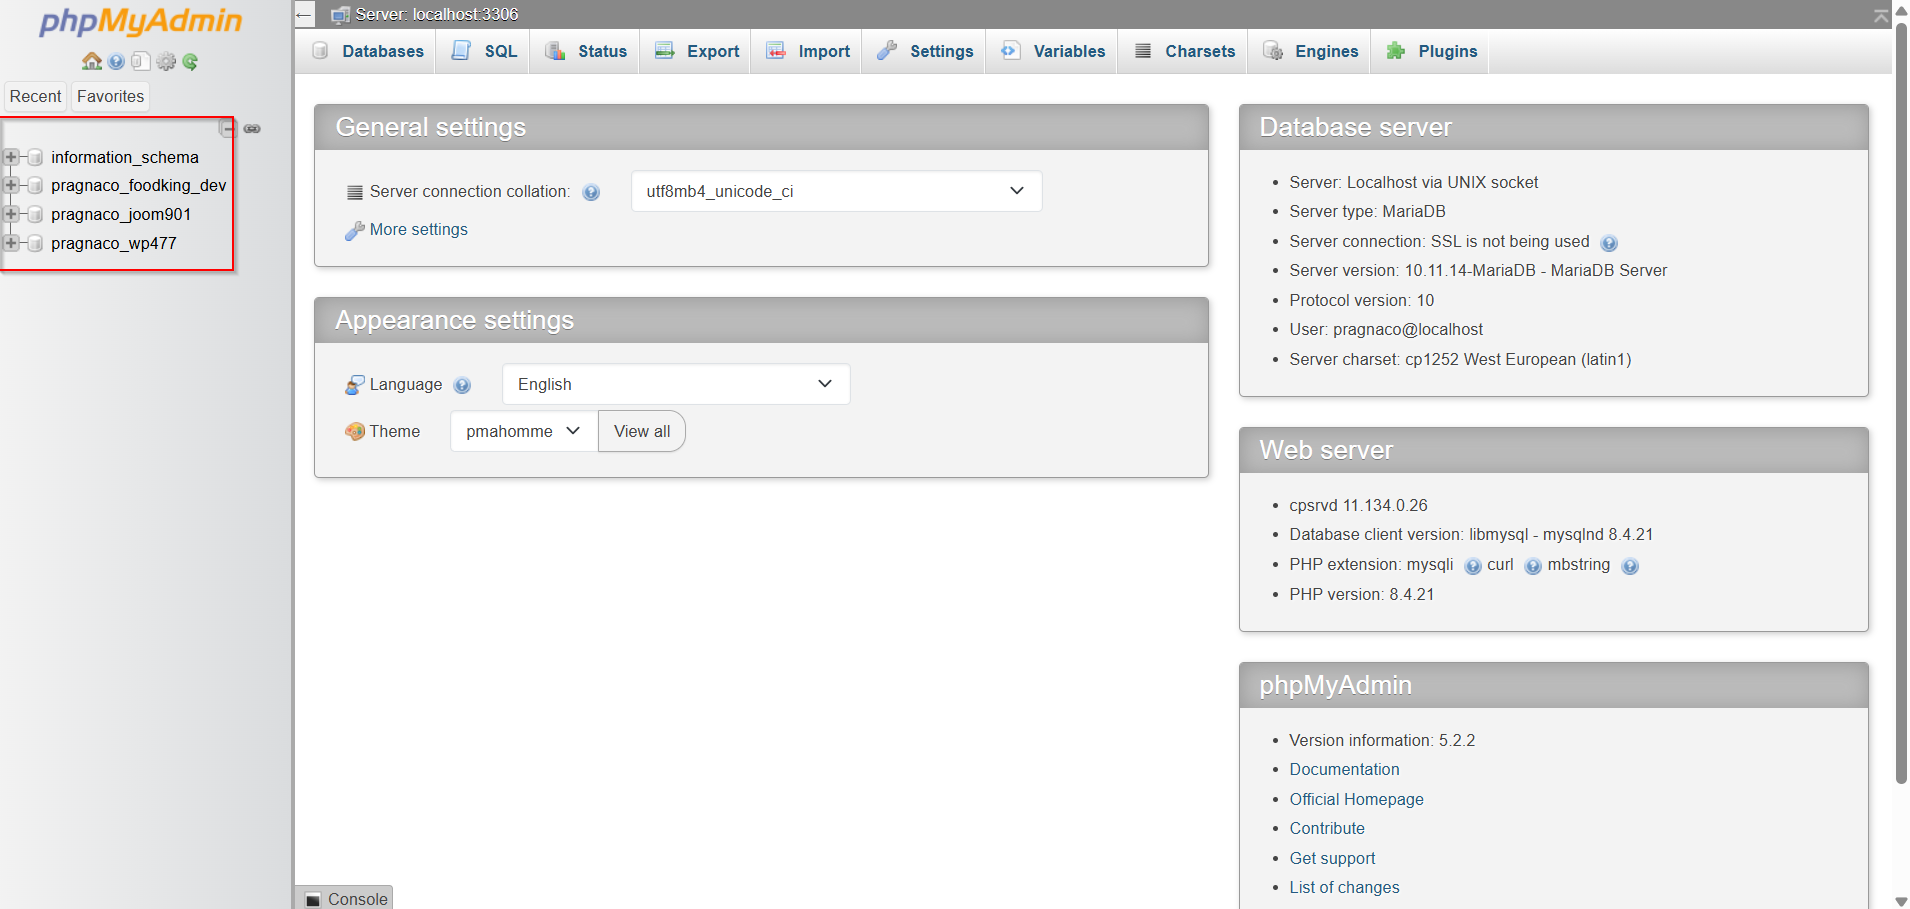
Step 6: Select the Target Database
In phpMyAdmin:
-
Locate the database list in the left sidebar.
-
Click the database where you want to import the data.
Ensure you select the correct database before proceeding.
Step 7: Click the Import Tab
After selecting the database:
-
Click the Import tab located at the top of phpMyAdmin.
-
The database import screen will appear.
This section allows you to upload and execute SQL files directly on the server.

Step 8: Upload the Database Backup File
-
Click Choose File.
-
Browse your computer and select the database backup file.
-
Supported formats typically include:
-
.sql -
.zip -
.gz
-
Ensure the file is not corrupted before uploading.

Step 9: Configure Import Settings
For most users, the default import settings are sufficient.
Verify the following:
-
Format is set to SQL
-
Character set remains unchanged unless required
-
Partial import options remain at default settings
Advanced users may adjust these settings according to their specific requirements.

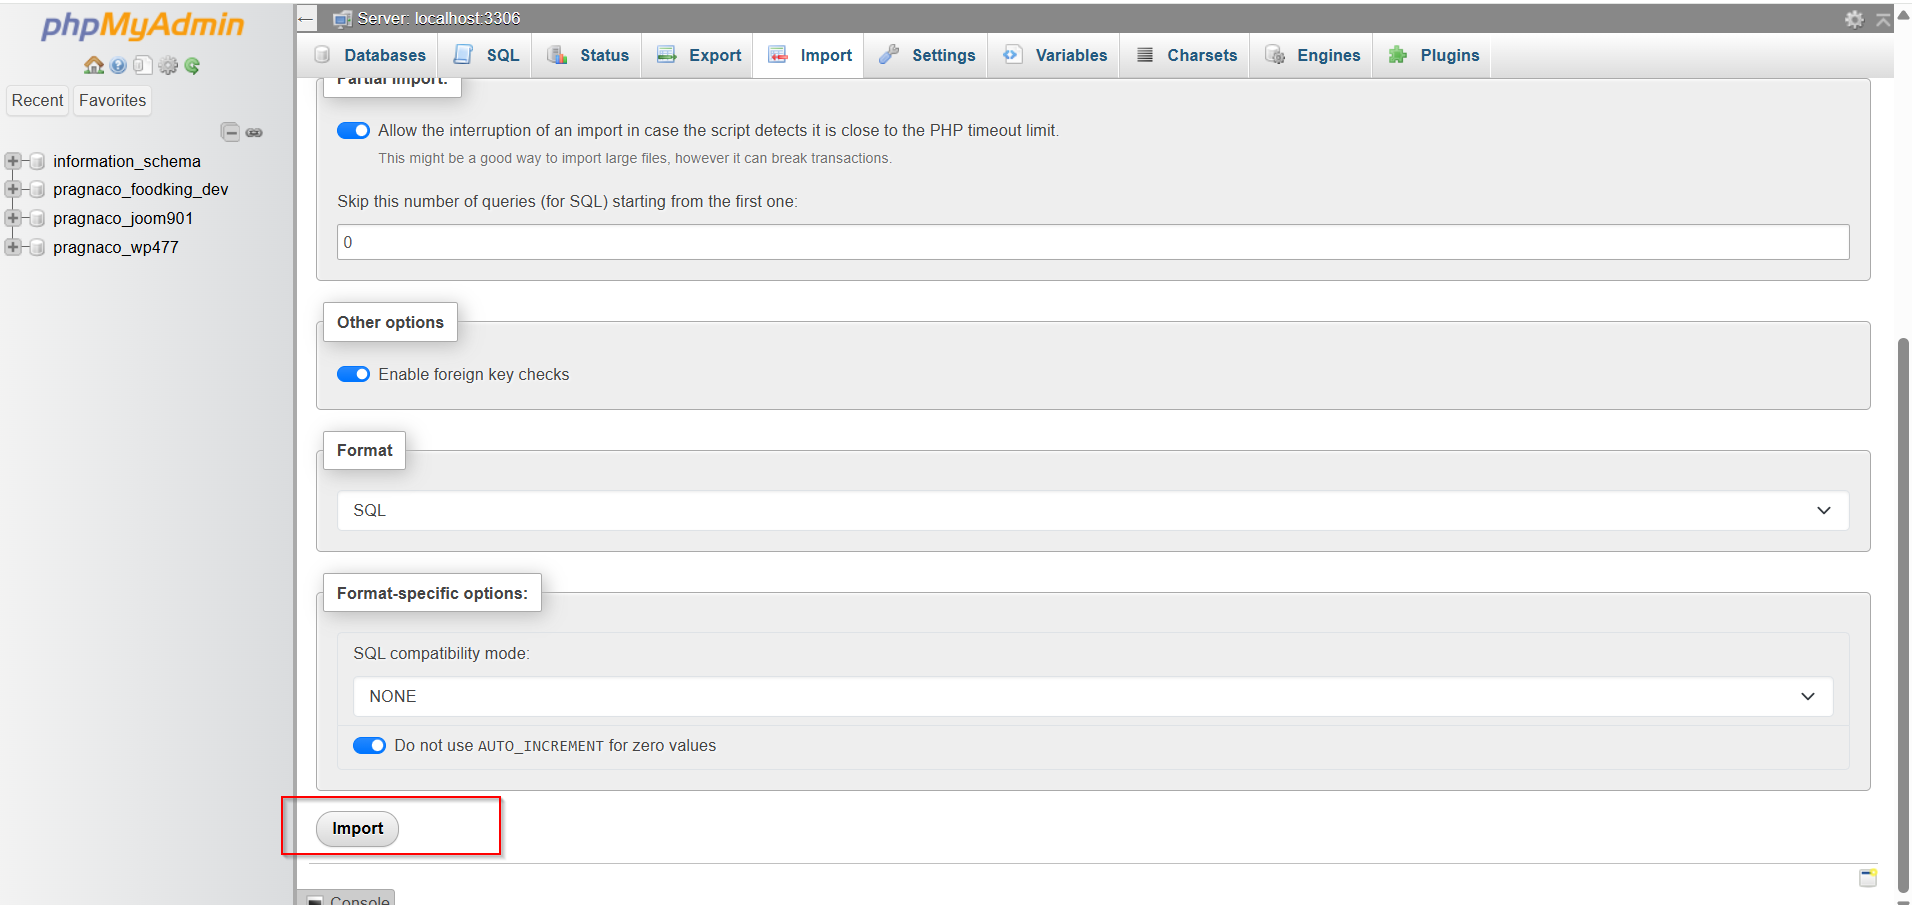
Step 10: Start the Import Process
-
Scroll to the bottom of the page.
-
Click the Import button.
phpMyAdmin will begin processing the database file.
The import duration depends on:
-
Database size
-
Server resources
-
Hosting performance
-
Network speed
Step 11: Verify Successful Import
After the process completes, phpMyAdmin will display a success message.
To verify the import:
-
Browse the database tables.
-
Check that all tables appear correctly.
-
Review sample records if necessary.
-
Test your website or application.
A successful import confirms that the database data has been restored correctly.
When Should You Import a MySQL Database?
Database imports are commonly used when:
-
Migrating a website between hosting providers
-
Restoring lost website data
-
Deploying staging environments
-
Installing CMS platforms manually
-
Recovering from website failures
-
Transferring development projects to production servers
Understanding how to perform database imports efficiently can significantly reduce downtime during website migrations and recovery operations.
Conclusion
Importing a MySQL database in cPanel is a straightforward process when using phpMyAdmin. By creating the database, assigning the appropriate user privileges, and uploading the SQL backup file correctly, you can restore or migrate your website data with confidence.
Regular database backups and proper import procedures help protect your website from data loss while ensuring a smooth migration or recovery experience. Whether you're managing a WordPress site, an eCommerce store, or a custom web application, mastering database imports is an essential part of website administration.
