
How to Block or Unblock a specific IP Address from cPanel
cPanel allows website owners to control access to their websites by blocking unwanted IP addresses. This feature helps protect your website from spam, malicious traffic, unauthorized access attempts, and other security threats. If needed, you can also remove a blocked IP address to restore access.
How to Block an IP Address in cPanel
Step 1: Login to cPanel from Client Area
First, login to your client area account.
After logging in:
- Go to Services
- Click on My Services
- Select your active hosting service
- Click on Login to cPanel

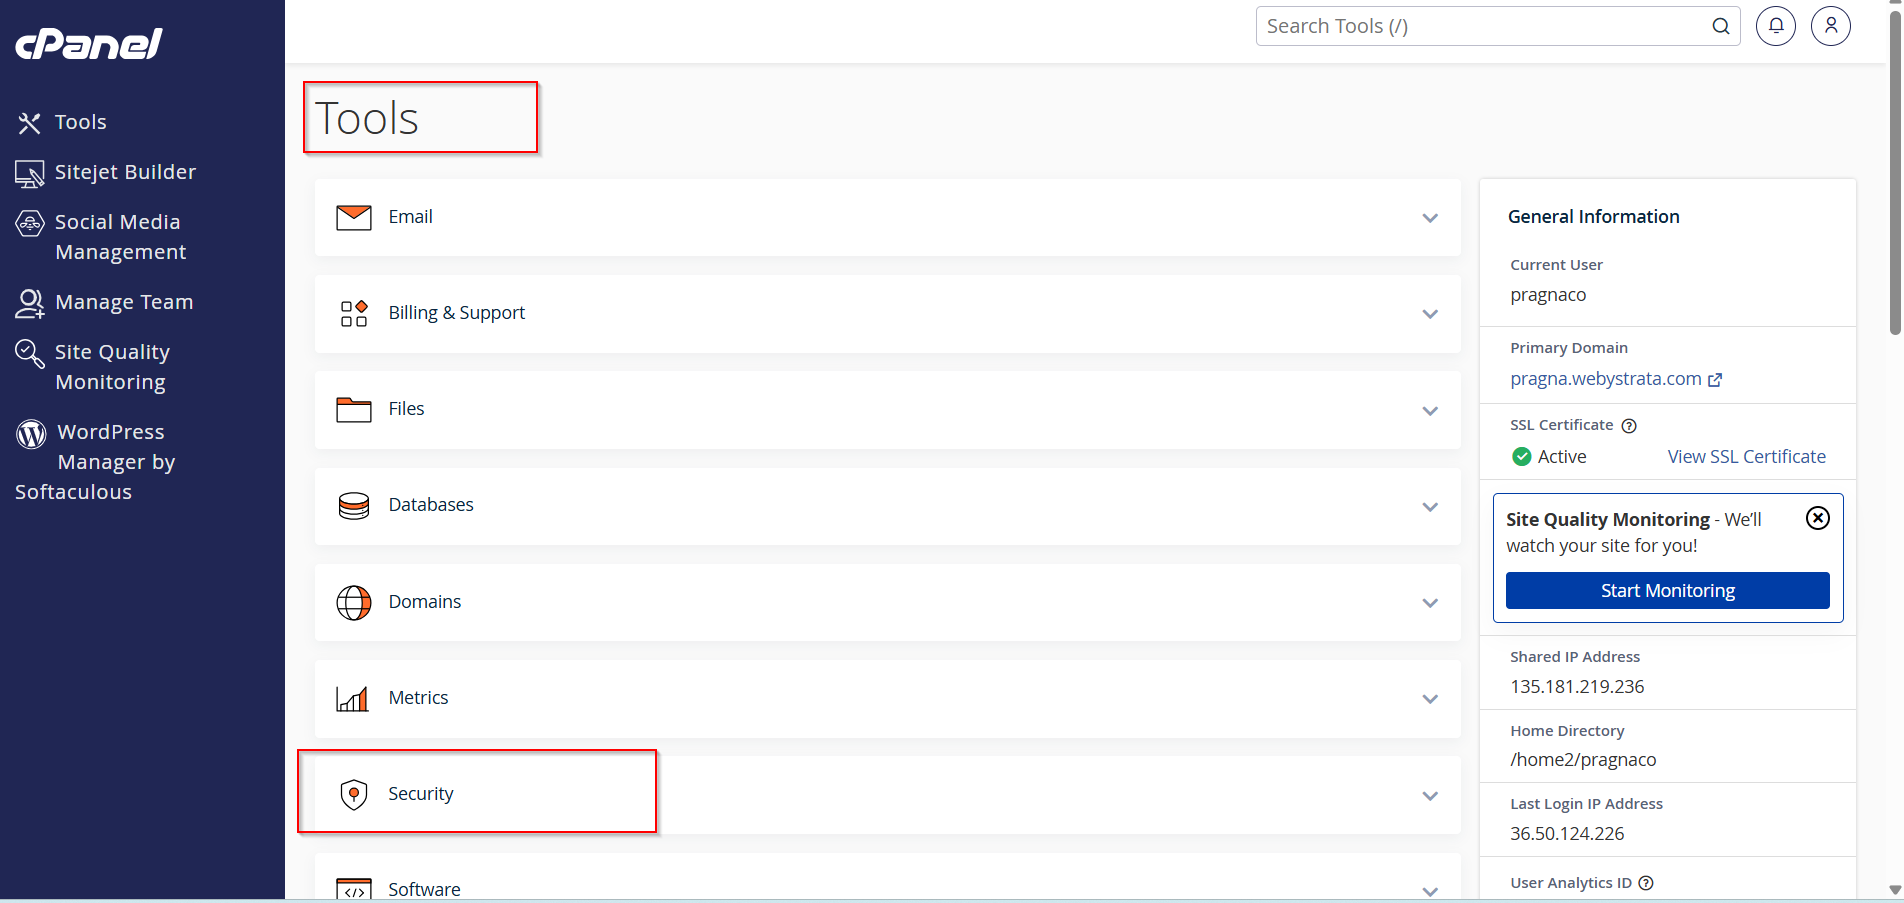
Step 2: Open the Security Section
From the cPanel dashboard, locate the Security section.
Step 3: Click IP Blocker
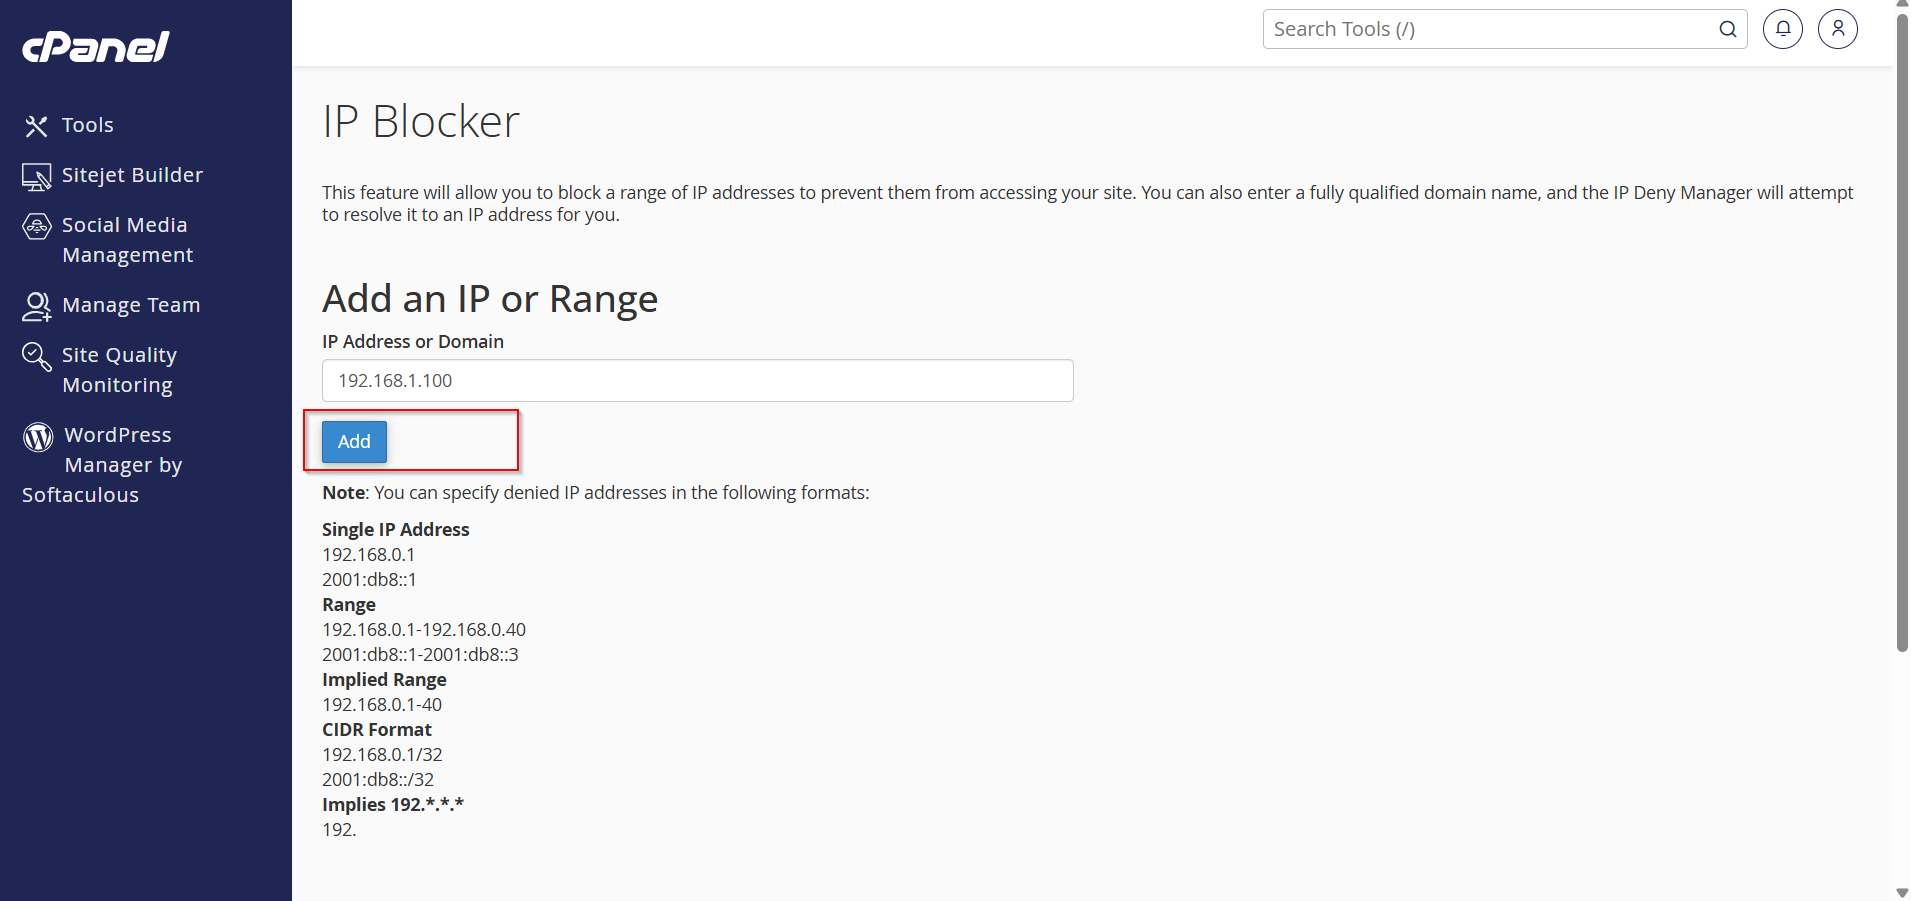
Select IP Blocker to open the IP management interface.

Step 4: Enter the IP Address
In the Add an IP or Range field, enter the IP address or IP range you want to block.
Examples:
- Single IP:
192.168.1.100 - IP Range:
192.168.1.1-192.168.1.255 - CIDR Format:
192.168.1.0/24

Step 5: Add the IP Address
Click Add to block the specified IP address or range.
Step 6: Verify the Block
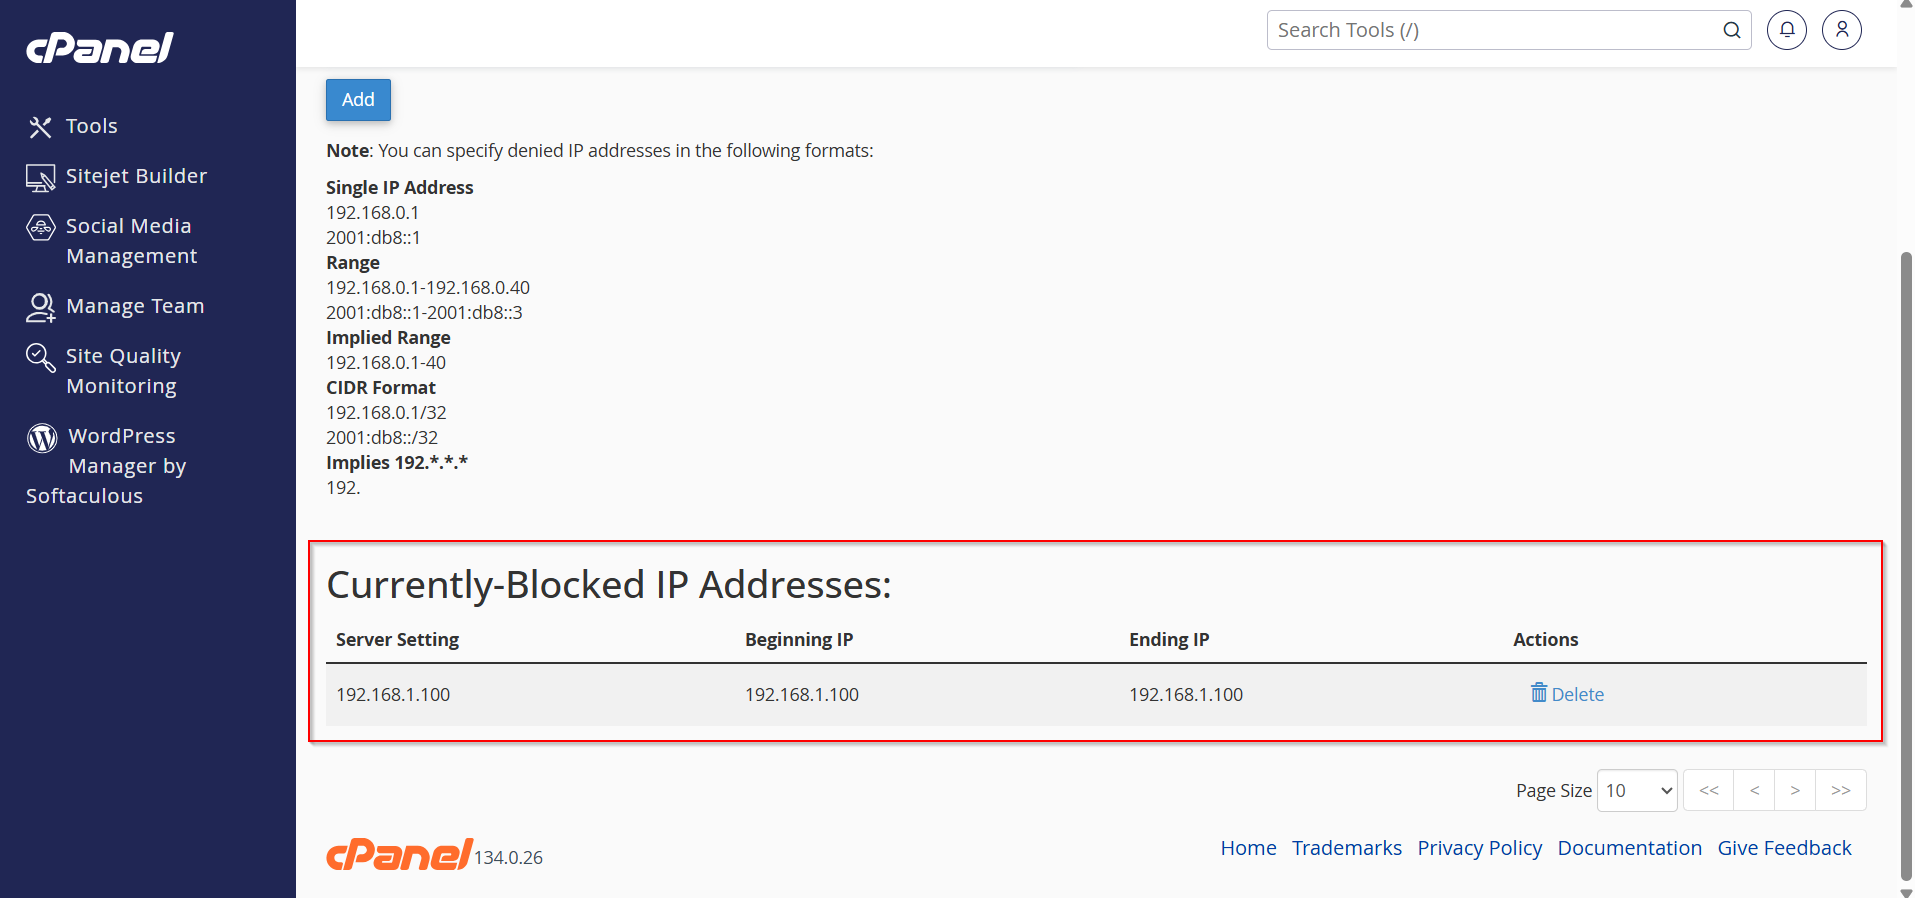
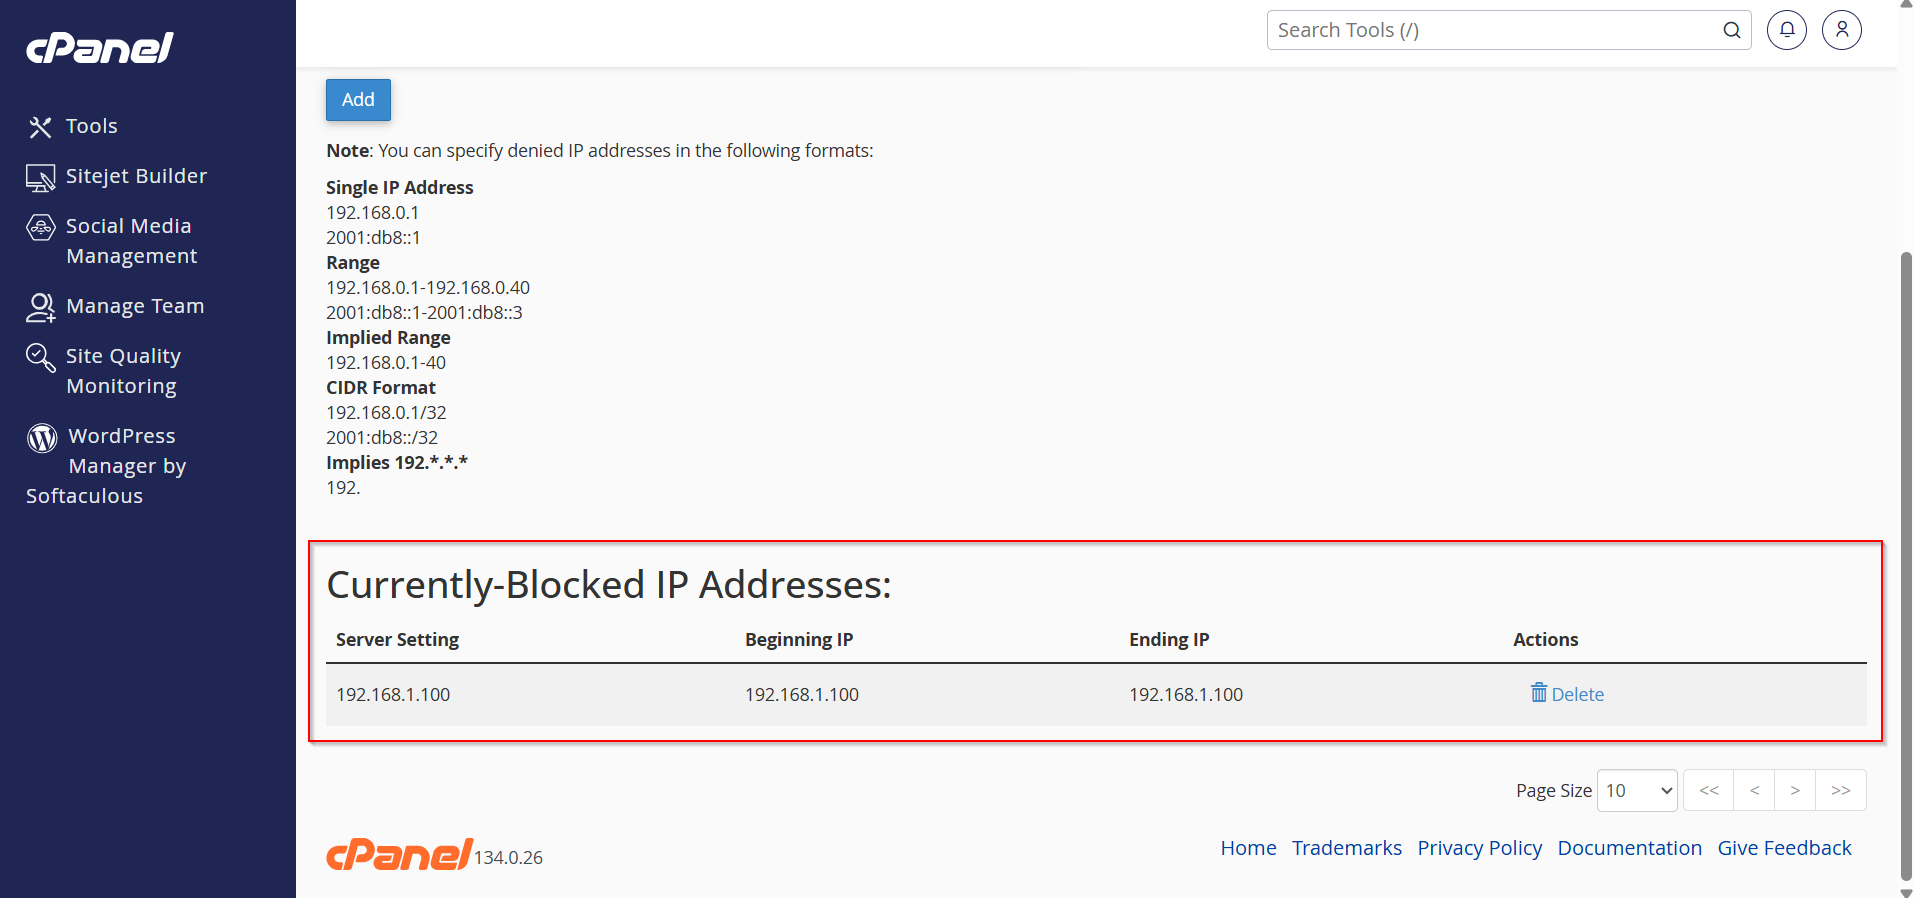
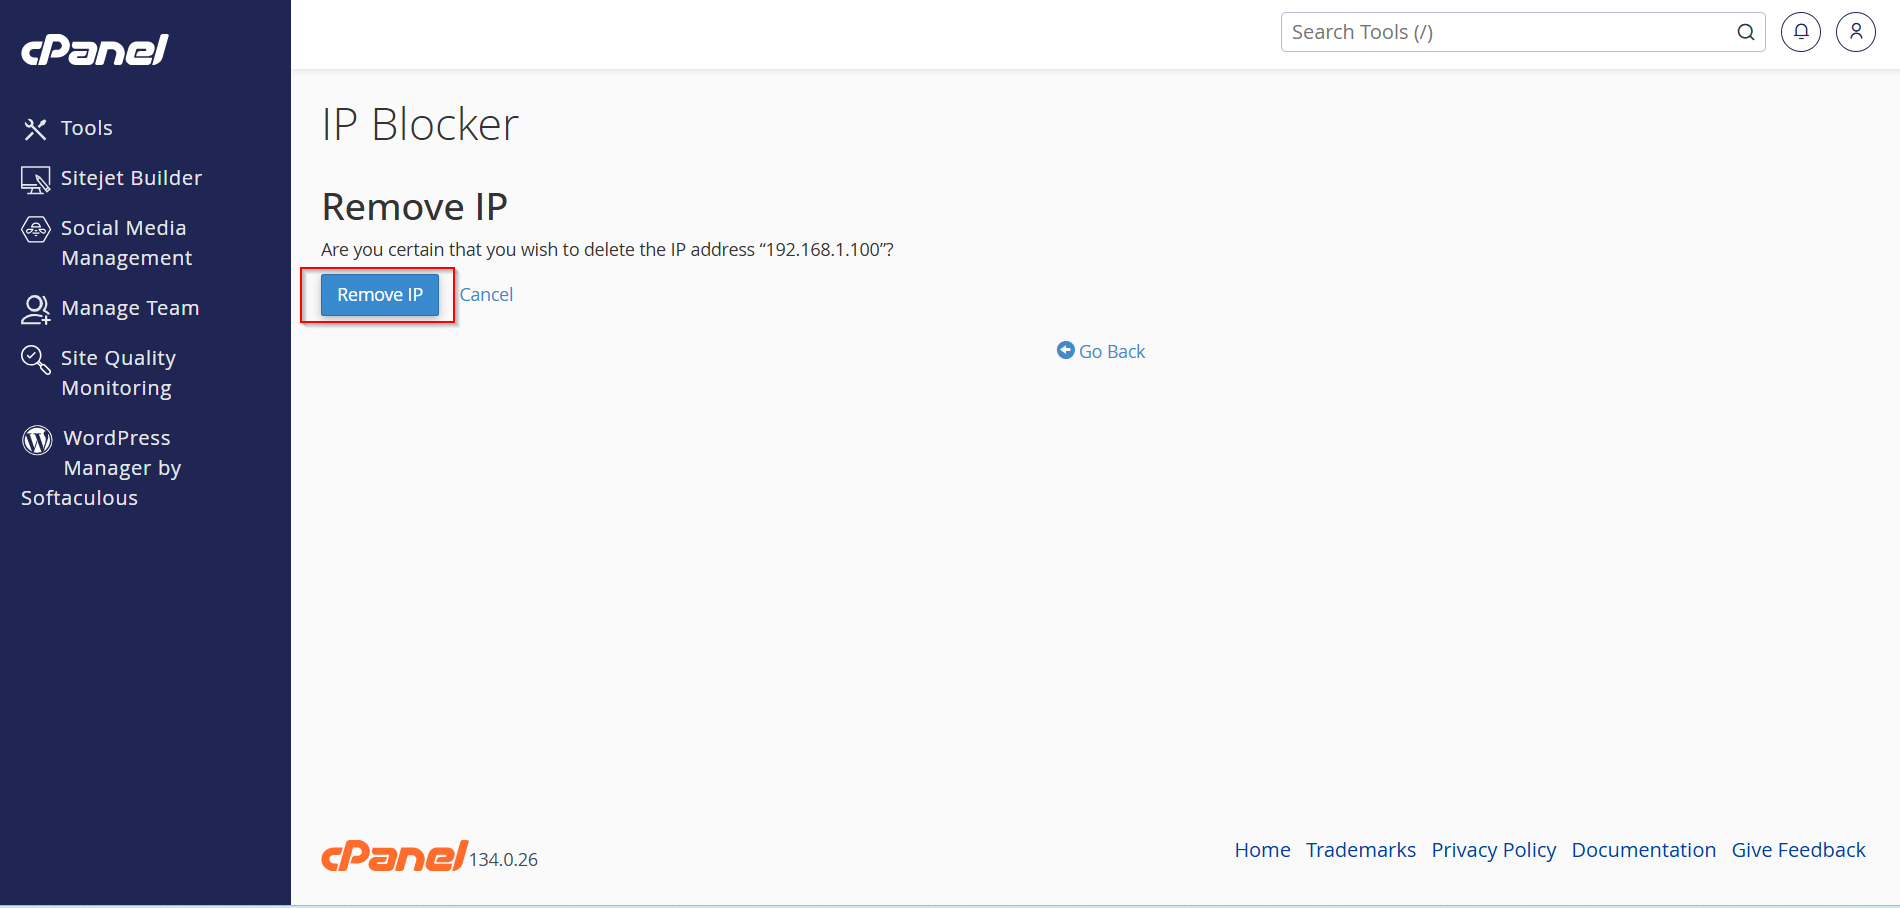
The IP address will appear in the Currently-Blocked IP Addresses list, confirming that the block has been applied.


Common Uses of IP Blocking
- Prevent spam or abusive visitors.
- Block repeated failed login attempts.
- Restrict access from suspicious locations.
- Enhance website security against malicious traffic.
Conclusion
The IP Blocker feature in cPanel provides a simple way to manage website access and improve security. Whether you need to block a suspicious visitor or remove an existing restriction, cPanel makes the process quick and straightforward.
