
How to Create Invoice Emails in WHMCS
Email communication is a critical part of any hosting or online service business. WHMCS automatically sends invoice-related emails to customers whenever an invoice is generated, paid, overdue, or canceled. While WHMCS includes several default invoice email templates, there are situations where you may want to create a completely new invoice email template instead of modifying the existing ones.
Creating a new invoice email template allows you to maintain the original templates while designing custom invoice notifications tailored to your business requirements. This can be useful for promotional invoices, special billing notices, branded communications, or custom automation workflows.
In this guide, you'll learn how to create a new invoice email template in WHMCS from scratch.
Why Create Invoice Emails in WHMCS?
Instead of editing the default invoice templates, creating a new template offers several advantages:
- Preserves the original WHMCS email templates.
- Allows testing without affecting live emails.
- Supports custom branding and layouts.
- Enables specialized invoice notifications.
- Works with custom automation and third-party modules.
- Simplifies template management for different customer groups.
Prerequisites
Before you begin, ensure that:
- WHMCS is installed and accessible.
- You have administrator privileges.
- Email sending is configured in WHMCS.
- You understand the purpose of the custom invoice email.
Step 1: Log in to the WHMCS Admin Area
Access your WHMCS administration panel using your administrator credentials.
After logging in, you'll have access to all configuration settings, including email templates.
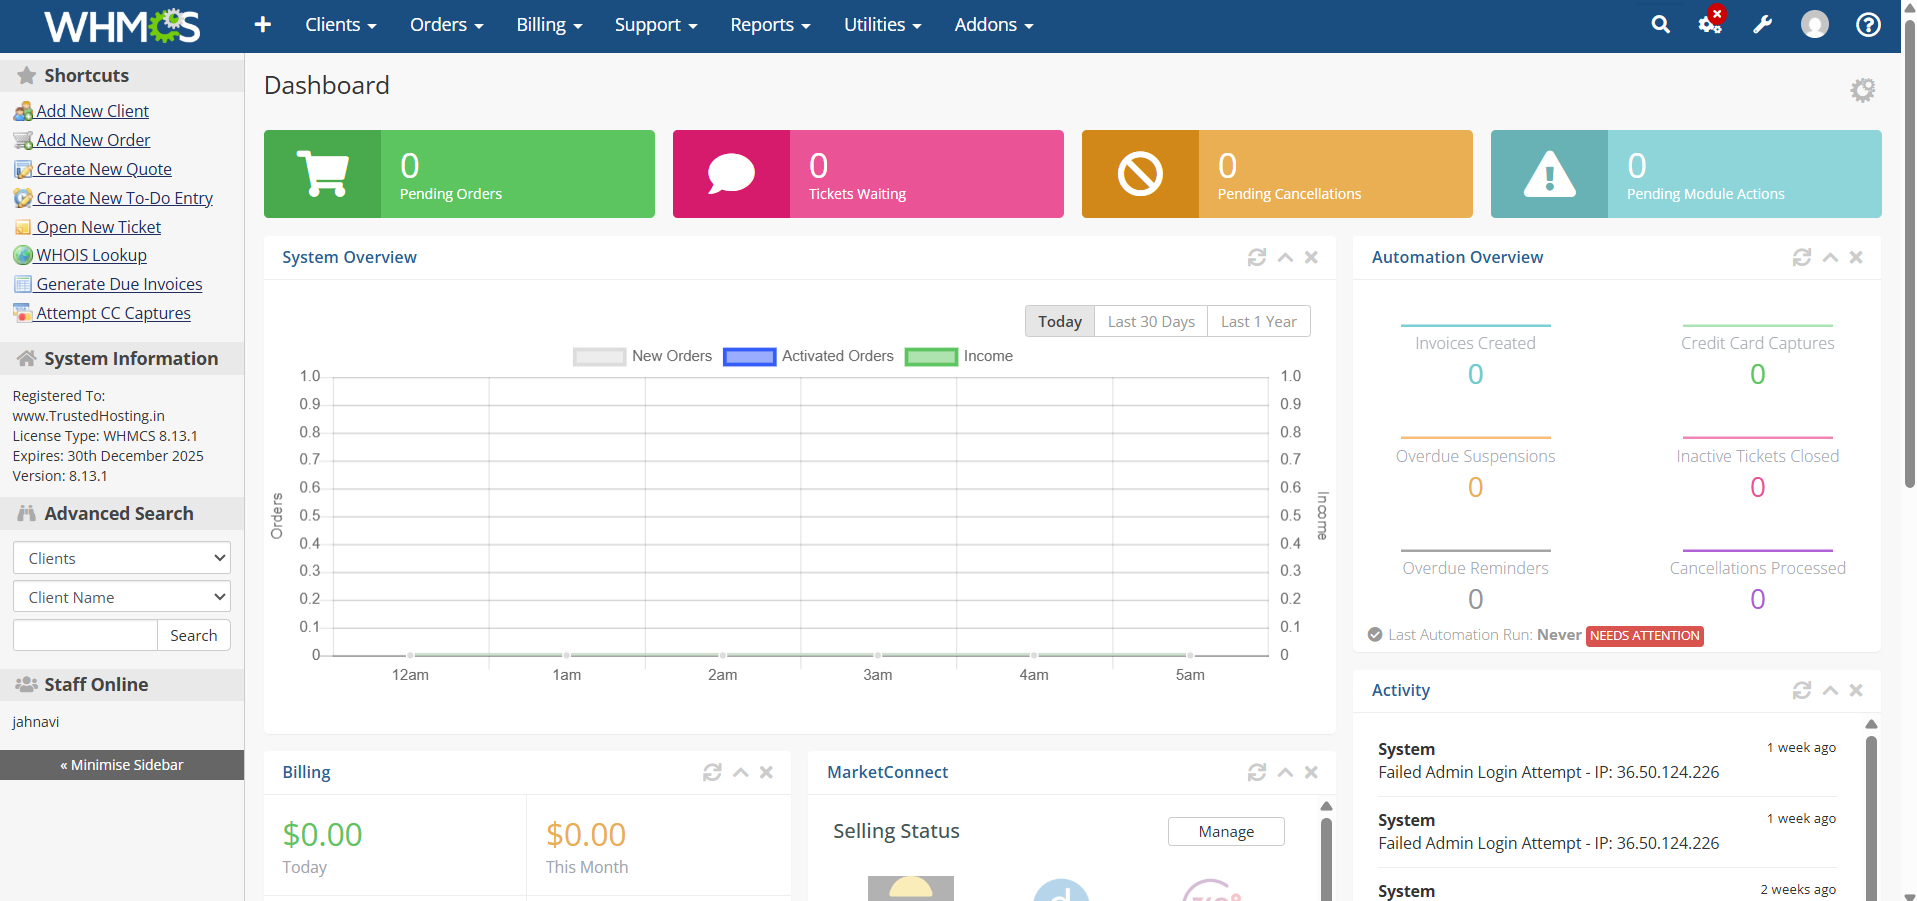
Step 2: Navigate to Email Templates
From the WHMCS admin dashboard:
- Navigate to Configuration Icon → System Settings

- Select Email Templates
This section contains all email templates used throughout WHMCS.

Step 3: Create New Email Template
In the Email Templates page:
- Click Create New Email Template.
- A form will appear requesting template details.

You will need to provide:
Email Type
Choose:
Invoice
This ensures the template can use invoice-related merge fields and variables.

Template Name
Enter a unique name such as:
- Custom Invoice Notification
- Premium Invoice Reminder
- Special Billing Notice
- Invoice Follow-Up Email
The template name helps administrators identify the template later.

- Click Create.

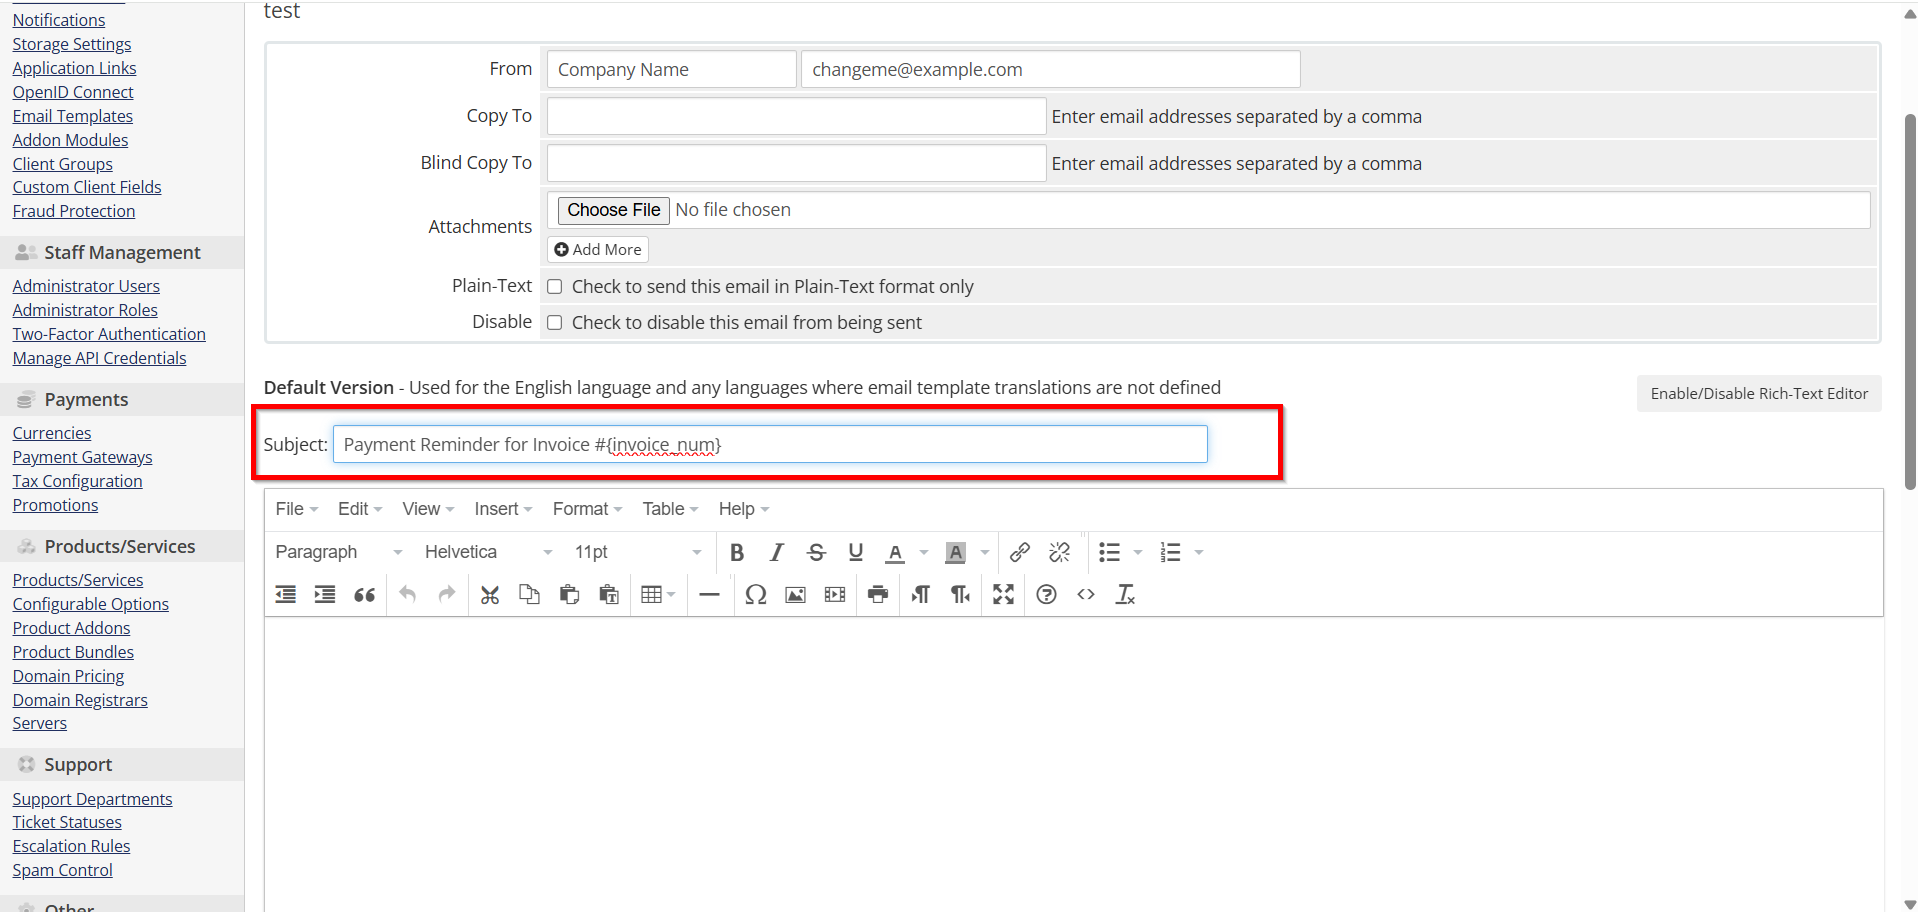
Step 4: Configure the Email Subject
Create a clear and professional subject line.
Example:
Invoice #{invoice_num} from {$companyname}
Alternative examples:
Your Invoice is Ready - {$companyname}
Payment Reminder for Invoice #{invoice_num}
Using merge fields allows dynamic information to be inserted automatically.
Step 5: Design the Email Body
In the Message field, create the content for your invoice email.
Example:
<p>Hello {$client_name},</p>

<p>Thank you for choosing {$companyname}.</p>

<p>A new invoice has been generated for your account.</p>

<p>
Invoice Number: {$invoice_num}<br>
Due Date: {$invoice_date_due}<br>
Total Amount: {$invoice_total}
</p>

<p>
You can review and pay your invoice using the link below:
</p>

<p>
<a href="{$invoice_link}">View Invoice</a>
</p>

<p>
If you have any questions, please contact our support team.
</p>

<p>
Regards,<br>
{$companyname}
</p>
This creates a professional invoice notification while maintaining dynamic invoice information.

Step 6: Insert Available Merge Fields
WHMCS provides numerous merge fields for invoice templates.
Common invoice variables include:
| Merge Field | Purpose |
|---|---|
| {$client_name} | Client Name |
| {$companyname} | Company Name |
| {$invoice_num} | Invoice Number |
| {$invoice_total} | Invoice Total |
| {$invoice_date_due} | Due Date |
| {$invoice_link} | Invoice URL |
| {$client_email} | Client Email |
To view available variables:
- Click the Available Merge Fields section.
- Browse invoice-related variables.
- Insert the required placeholders into your template.

Step 7: Add Company Branding
To create a professional appearance, include:
- Company logo
- Brand colors
- Contact information
- Social media links
- Website URL
You can use HTML formatting to customize the layout and improve readability.

Step 8: Save the Template
After completing the subject and message content:
- Review the template carefully.
- Click Save Changes.
Your new invoice email template is now stored in WHMCS.

Step 9: Test the Template
Before using the template in production:
- Open the newly created template.
- Use WHMCS testing options if available.
- Send a test email to yourself.
- Verify:
- Subject line formatting
- Merge field output
- Links
- Mobile responsiveness
- Branding consistency
Testing helps identify formatting issues before customers receive the email.
Step 10: Use the Template in Automation or Custom Workflows
Since this is a newly created template, WHMCS will not automatically replace the default invoice emails.
You can use the template with:
- Custom hooks
- Automation workflows
- Third-party modules
- API integrations
- Custom billing processes
This approach allows the default invoice emails to remain untouched while your custom template serves a specific purpose.
Best Practices
When creating a new invoice email template in WHMCS:
- Use clear and professional language.
- Keep the email concise.
- Include payment instructions.
- Test merge fields thoroughly.
- Ensure mobile-friendly formatting.
- Maintain consistent branding.
- Avoid removing essential invoice information.
Conclusion
Creating a new invoice email template in WHMCS is an excellent way to customize billing communications without altering the platform's default templates. By creating a separate invoice template, you can preserve existing functionality while building specialized notifications that match your branding and business requirements. With proper testing and implementation, a custom invoice email template can improve customer communication, enhance professionalism, and support advanced billing workflows within WHMCS.
