
How to Configure Admin User and Role Management in WHMCS
Managing administrative access is one of the most important security and operational tasks in WHMCS. As your business grows, multiple team members may require access to the WHMCS administration area to handle support tickets, manage clients, process orders, oversee billing, and perform system administration tasks.
WHMCS includes a powerful Admin User and Role Management system that allows you to create individual administrator accounts and assign specific permissions based on each team member's responsibilities. Instead of sharing a single administrator login, you can provide secure access while maintaining accountability and control.
In this guide, you'll learn how to configure Admin User and Role Management in WHMCS, create administrator accounts, assign roles, and implement security best practices.
Why Admin User and Role Management Is Important
Proper admin user management provides several benefits:
- Improves security by eliminating shared administrator accounts
- Restricts access to sensitive areas
- Ensures staff only access features relevant to their job roles
- Provides accountability through activity logging
- Reduces the risk of accidental configuration changes
- Helps meet compliance and auditing requirements
By using role-based permissions, you can maintain a secure and organized WHMCS environment.
Understanding Admin Users and Roles
WHMCS separates administrative access into two components:
Admin Users
Admin Users are individual administrator accounts used to log in to the WHMCS admin area. Each administrator should have their own unique login credentials.
Examples include:
- System Administrators
- Billing Staff
- Support Agents
- Sales Representatives
- Managers
Administrator Roles
Roles define what actions and areas an administrator can access within WHMCS.
Examples include:
- Full Administrator
- Support Operator
- Billing Administrator
- Sales Administrator
- Custom Roles
A role can be assigned to one or multiple admin users.
Step 1: Log in to WHMCS Admin Area
Log in to your WHMCS administrator dashboard.

Step 2: Access Administrator Users
- Navigate to Configuration Icon → System Settings
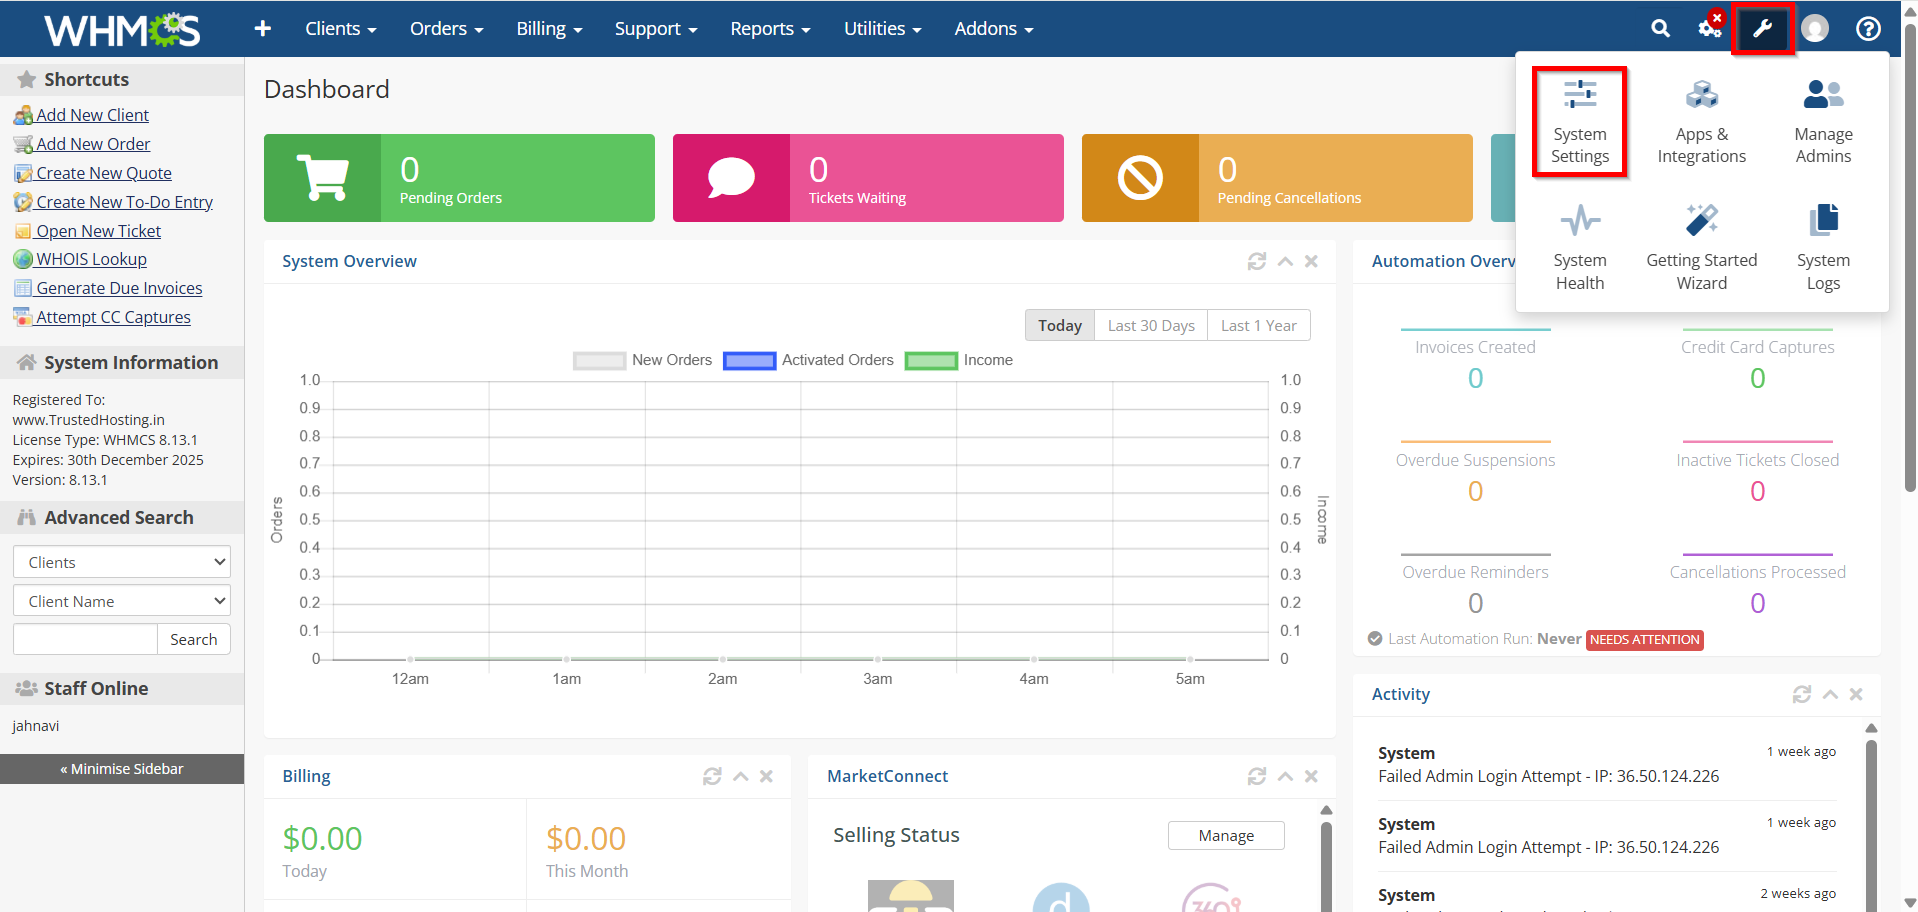
- Under All Settings ,

- Select Administrator Users.

Step 3: Add a New Administrator User
- Click Add New Administrator.

2. Enter the administrator's details:
- First Name
- Last Name
- Email Address
- Username

3. Configure authentication settings as required.
4. Click Add Admin.
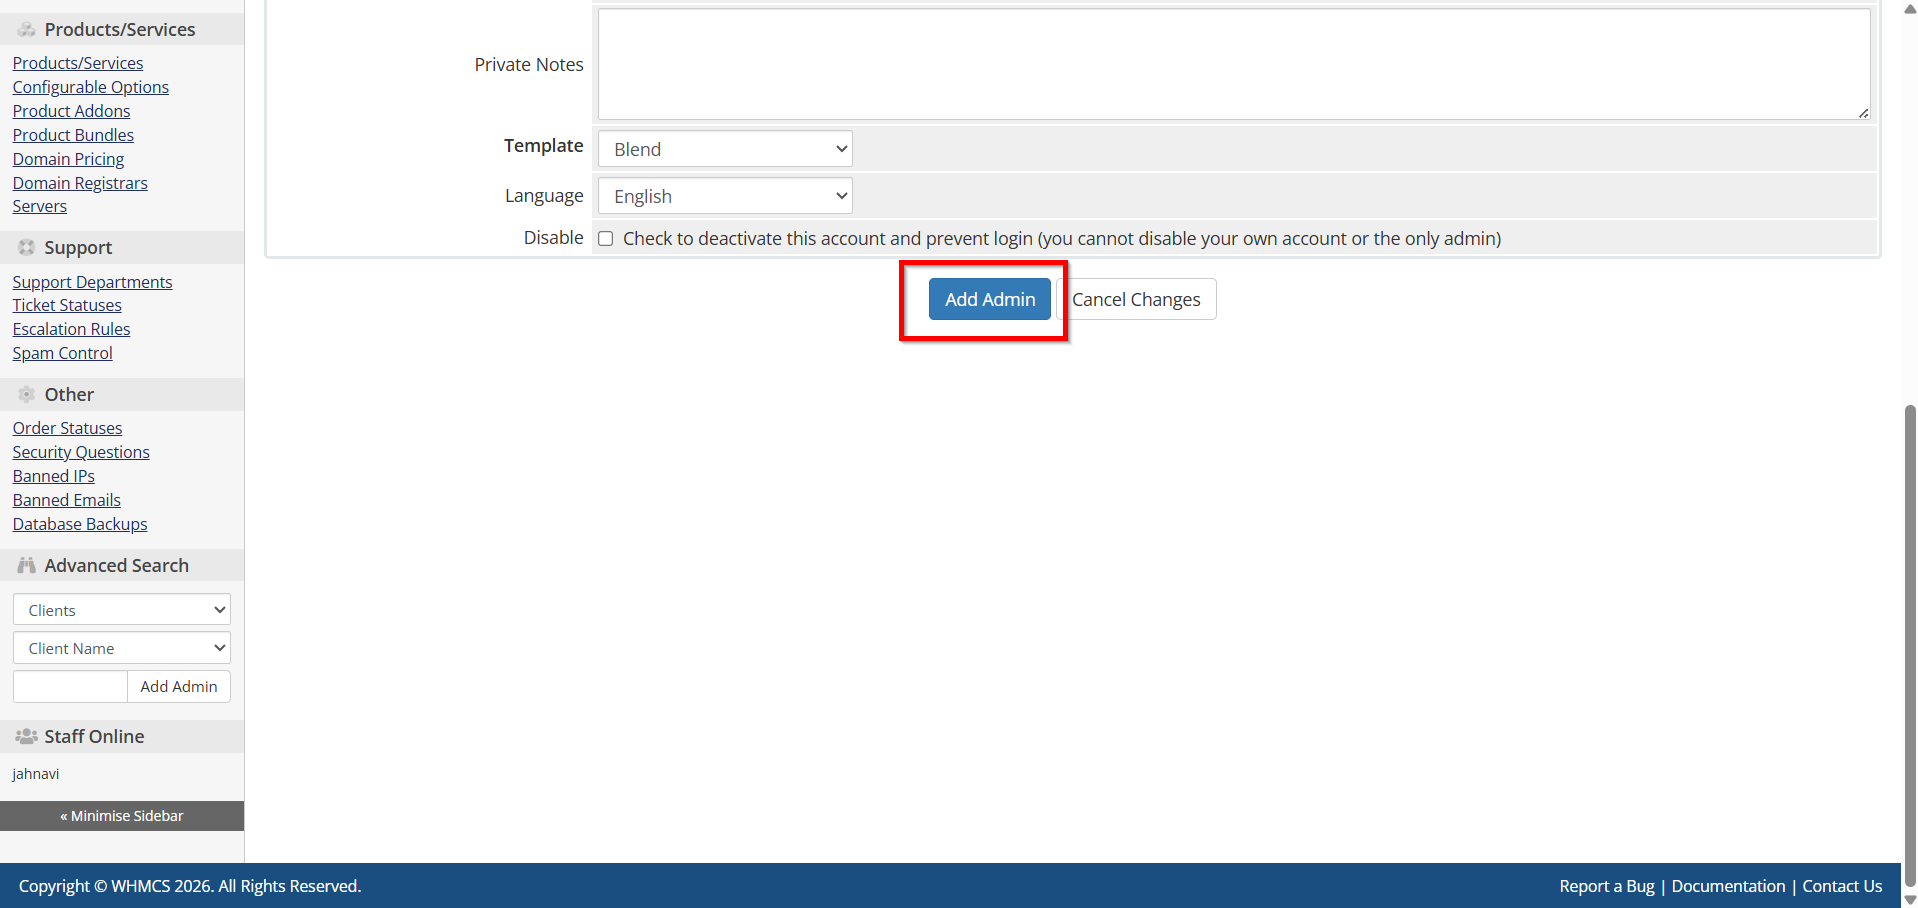
Each team member should have their own administrator account instead of sharing credentials.
Step 4: Access Administrator Roles and Permissions
- Navigate to Configuration Icon → System Settings
- Under All Settings ,
- Select Administrator Roles and Permissions.
- This section allows you to create roles and define what each administrator can access within WHMCS.
Administrator roles help you control access based on job responsibilities.

Step 5: Create a New Administrator Role
- Click Create New Role Group.
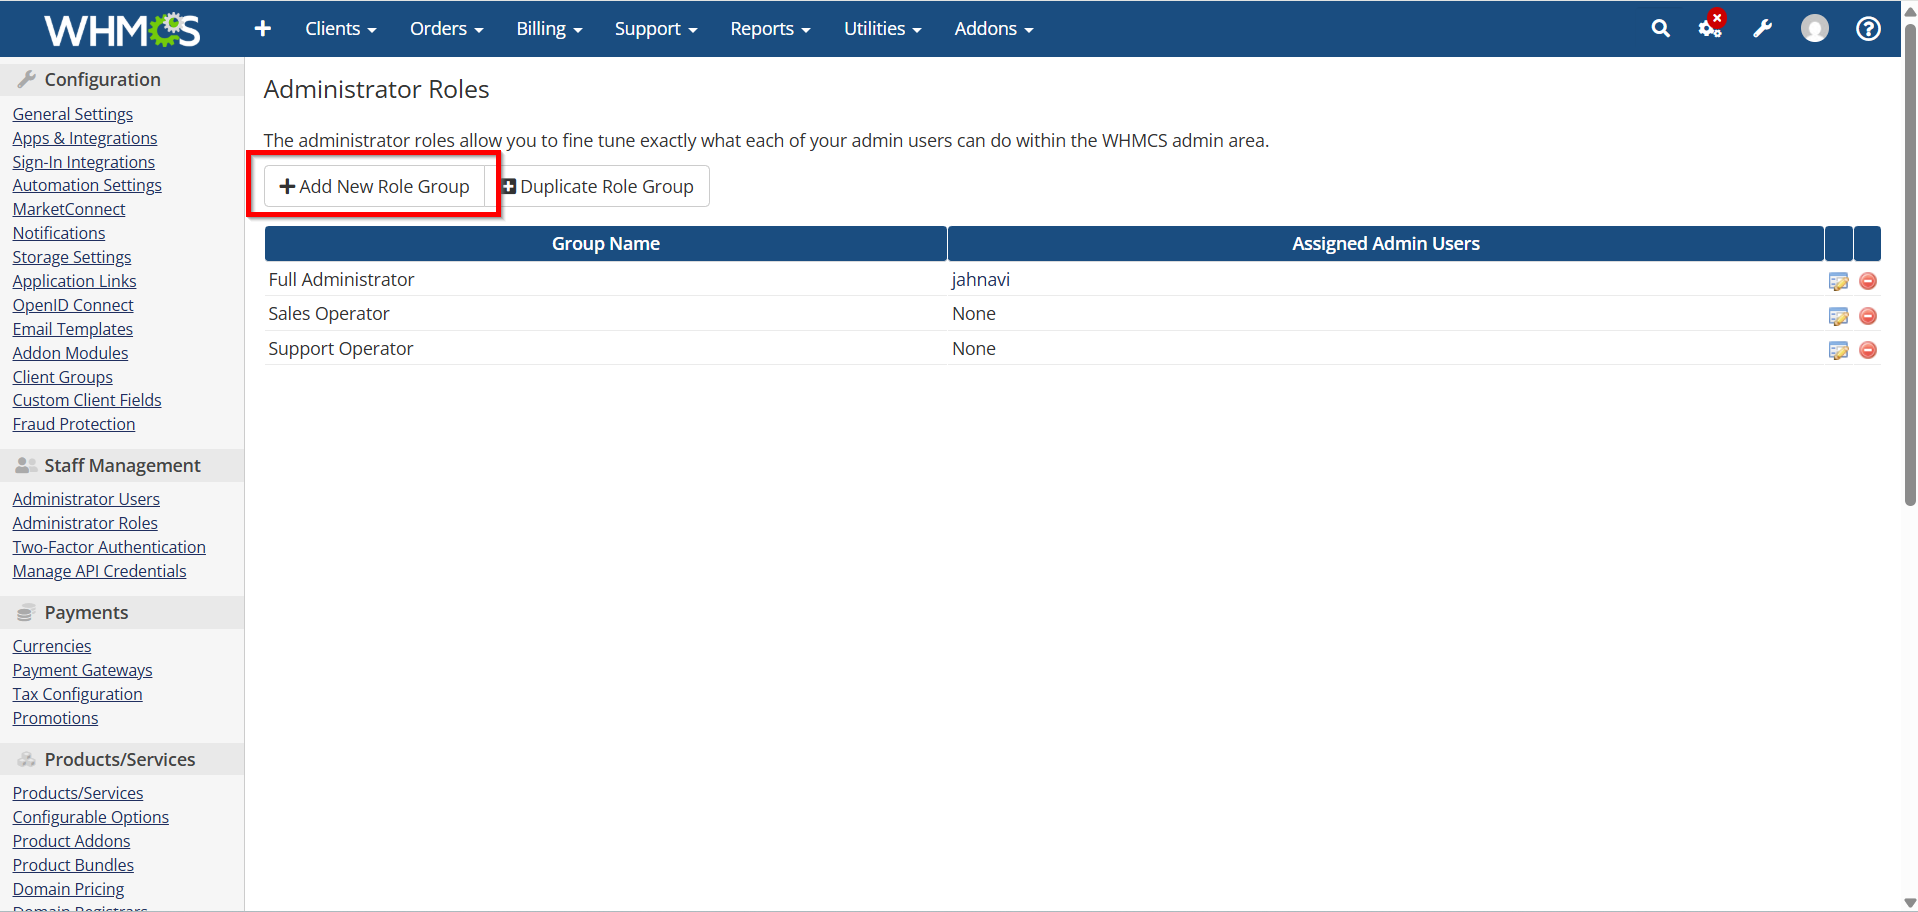
2. Enter a descriptive Role Name, such as:
- Support Agent
- Billing Manager
- Sales Representative
- System Administrator
- Click Continue
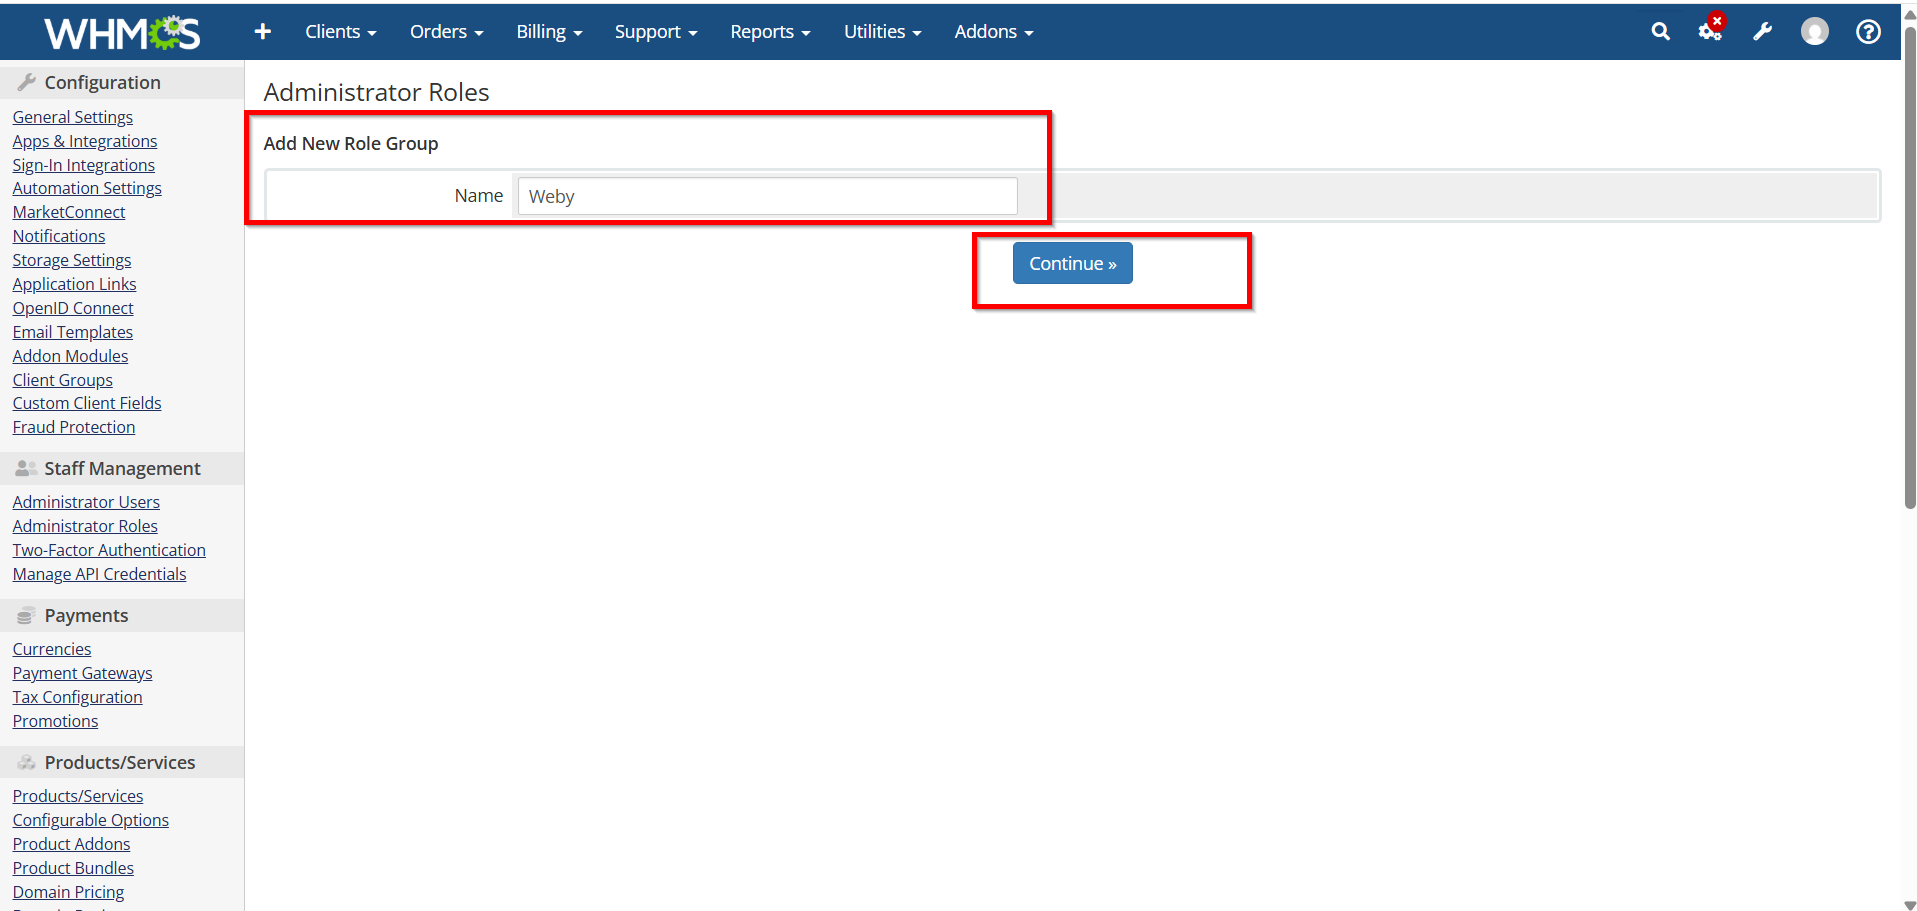
3. Select the permissions required for that role.
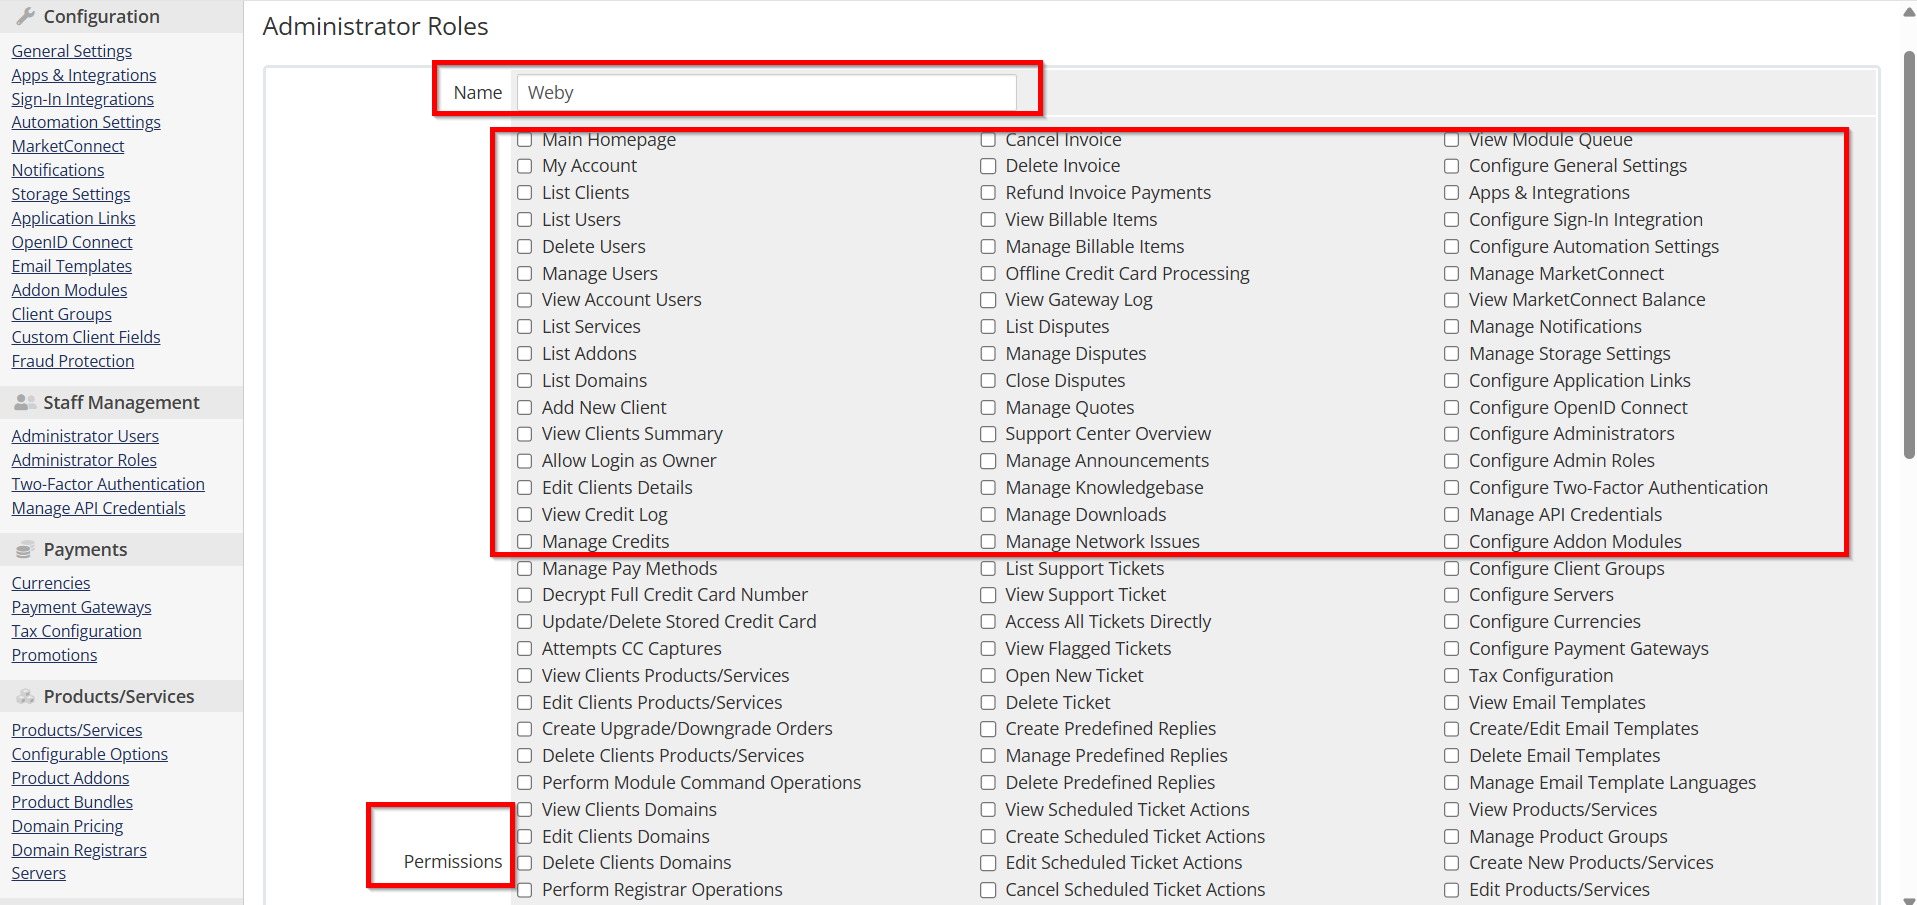
4. Click Save Changes.
Creating separate roles helps improve security and prevents unnecessary access to sensitive settings.

Step 6: Configure Role Permissions
While creating or editing a role, choose the permissions you want administrators to have access to.
Common permission categories include:
Client Management
- View Clients
- Edit Clients
- Manage Products and Services
Billing Management
- View Invoices
- Create Invoices
- Manage Transactions
- Process Payments
Support Management
- View Support Tickets
- Reply to Tickets
- Manage Ticket Departments
Order Management
- View Orders
- Accept Orders
- Cancel Orders
Reports and Analytics
- View Reports
- Export Data
System Configuration
- Access General Settings
- Manage Products
- Configure Automation Settings
Grant only the permissions required for each role to maintain security.
Step 7: Assign a Role to an Administrator User
- Return to Configuration Icon → System Settings → Administrator Users.
- Select the administrator you want to manage.
- Click Edit.

4. Locate the Administrator Role field.
5. Choose the appropriate role from the dropdown list.

6. Click Save Changes.

The administrator will immediately receive the permissions assigned to that role.
Step 8: Test the Assigned Permissions
After assigning a role:
- Ask the administrator to log in.
- Verify that they can access only the areas required for their duties.
- Confirm that restricted sections are not visible or accessible.
Testing permissions helps ensure that roles are configured correctly.
Step 9: Review and Update Roles Regularly
Periodically review administrator accounts and permissions:
- Remove unused administrator accounts.
- Disable access for former employees.
- Update roles when responsibilities change.
- Review permissions to ensure compliance with security policies.
Regular audits help maintain a secure WHMCS environment.
Best Practices for Admin User and Role Management in WHMCS
- Create individual administrator accounts for every team member.
- Use strong passwords and enable Two-Factor Authentication (2FA).
- Follow the principle of least privilege by granting only necessary permissions.
- Review administrator roles regularly.
- Monitor administrator activity logs for security and accountability.
- Disable inactive or unnecessary administrator accounts promptly.
Conclusion
Admin User and Role Management in WHMCS is essential for maintaining a secure and efficient hosting management environment. By creating individual administrator accounts, assigning appropriate roles, configuring permissions carefully, and enabling two-factor authentication, you can protect sensitive business data while ensuring staff members have access to the tools they need.
Regular permission reviews, activity monitoring, and adherence to security best practices will help keep your WHMCS installation secure and organized as your business continues to grow.
